
Have you ever wondered how a noisy café or a crackling phone line can suddenly sound as clear as a professional studio? The technology behind real-time voice enhancement makes this possible, cleaning up audio the instant it reaches your device. From video calls to live streaming, these systems isolate your voice and suppress background noise without any noticeable delay.
In this article, we break down how real-time voice enhancement actually works—covering noise suppression, echo cancellation, and AI-driven processing. You’ll learn practical ways this technology improves everyday communication and what to look for in tools that deliver crisp, natural sound.
Introduction
Real-time voice enhancement has moved from specialized broadcast studios into everyday tools we use on phone calls, video meetings, live streams, and voice assistants. This article explores The Technology Behind Real-Time Voice Enhancement with clear, practical guidance. You will learn how modern systems clean up speech as it happens, why latency matters more than raw processing power, and how to choose or apply these tools without falling for marketing hype.
The core challenge is simple to state but hard to solve: a microphone captures your voice along with room echo, background chatter, keyboard clicks, and electrical noise. A real-time system must separate what you want from what you do not, then rebuild a natural-sounding signal in a few milliseconds. That tight deadline rules out many otherwise excellent audio techniques. Understanding the fundamentals of The Technology Behind Real-Time Voice Enhancement helps you make informed decisions, whether you are buying a headset, configuring conference software, or building a product that includes voice chat.
This guide is for anyone who wants actionable knowledge rather than a research paper. We will cover the key building blocks, compare common approaches, walk through a step-by-step setup process, and answer frequent questions. Reliable information and consistent habits lead to better long-term outcomes, so we focus on durable principles rather than fleeting product features.
Key Concepts
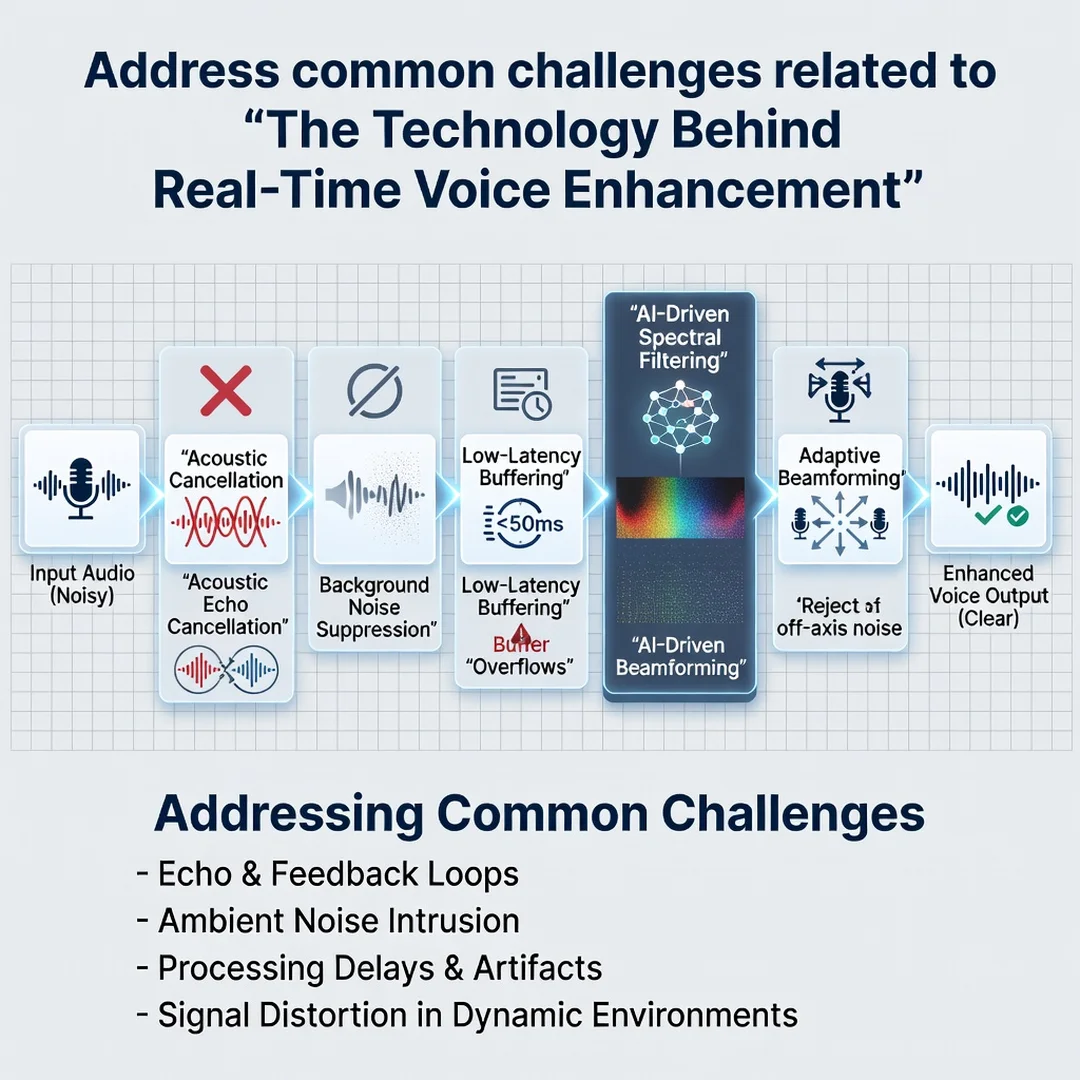
Before diving into algorithms, you need a shared vocabulary. Real-time voice enhancement is not a single technology; it is a pipeline of small, fast stages. Each stage fixes a specific problem and passes audio to the next stage.
Latency and the real-time budget
Latency is the delay between sound entering the microphone and enhanced sound leaving the speaker or network. For natural conversation, total round-trip latency should stay under about 150 milliseconds; many systems target 20 to 50 milliseconds for processing alone. Every extra stage adds delay. A noise suppressor that adds 30 milliseconds might be unusable in a live call even if it sounds perfect offline. This is why real-time algorithms are often simpler than their offline cousins.
Noise suppression versus noise cancellation
People use these terms interchangeably, but they differ. Noise suppression reduces unwanted sound in the signal you send. Noise cancellation actively emits anti-noise to cancel sound waves in the air, usually in headphones. Real-time voice enhancement mostly relies on suppression, because cancellation requires physical hardware and precise positioning.
Echo cancellation
When your microphone picks up the far-end speaker through your loudspeakers, the other person hears their own voice delayed, which is distracting. Acoustic echo cancellers build an adaptive model of the room and subtract the known playback signal from the microphone input. This is essential for speakerphone and laptop use.
Automatic gain control and equalization
Automatic gain control (AGC) keeps your level steady whether you whisper or turn away from the mic. Equalization shapes the frequency balance, often boosting intelligibility by reducing muddy low frequencies and harsh high frequencies. These stages are computationally cheap but have outsized impact on perceived quality.
Neural networks and hybrid DSP
Modern systems increasingly use small neural networks trained to separate speech from noise. They can handle non-stationary noise like barking dogs or clinking dishes, which classic statistical methods struggle with. However, neural models must be heavily optimized to meet latency budgets. Many production systems use a hybrid: fast digital signal processing (DSP) for echo and gain, plus a compact neural model for noise and voice isolation.
Step 1: Understand the fundamentals
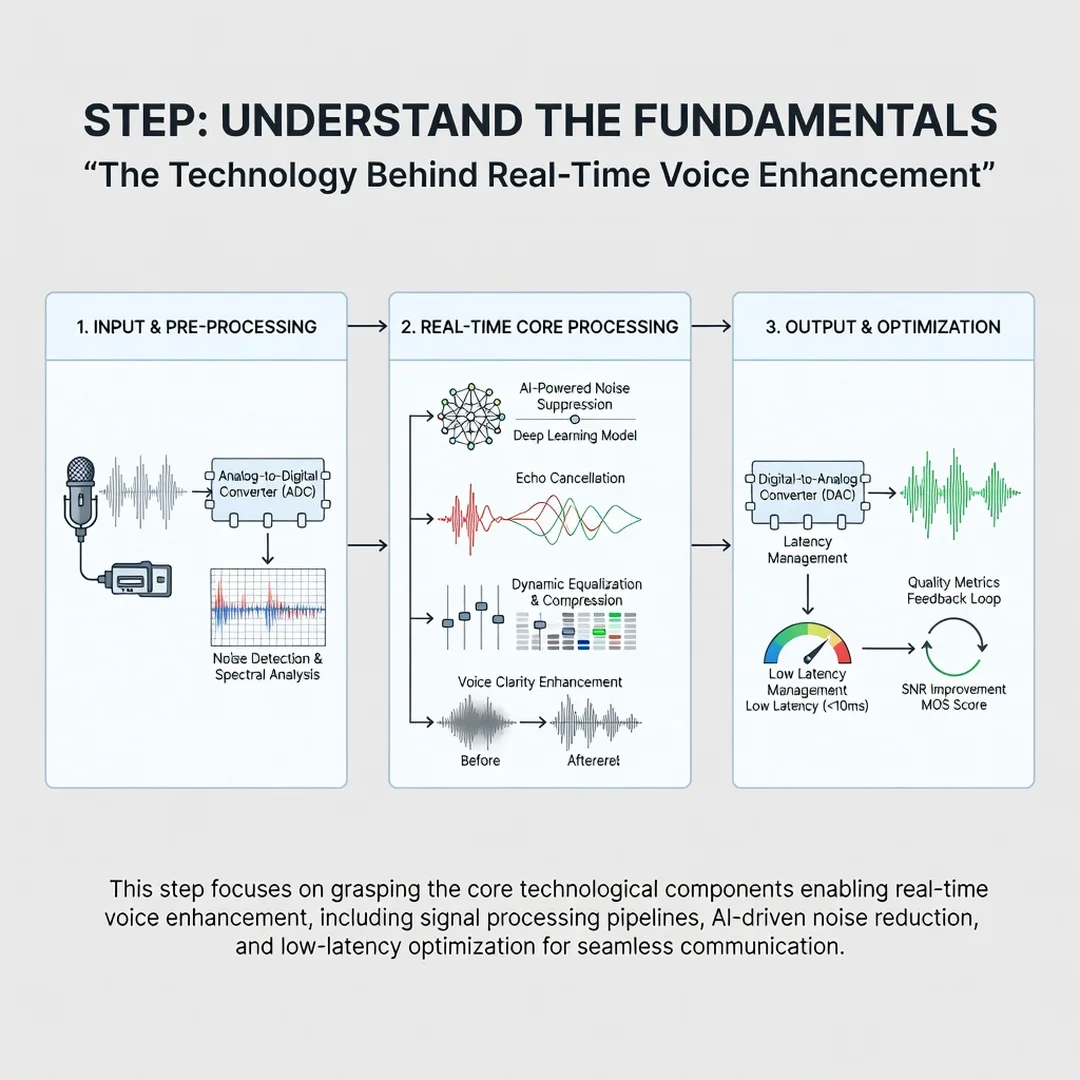
Start by mapping your signal path. Identify every device and app that touches audio: microphone, operating system, conferencing software, and any external processor. Know which stage introduces echo, which introduces noise, and where gain is applied. A surprising number of problems come from double processing, such as enabling noise suppression in both the operating system and the meeting app. Learn the difference between sample rate, bit depth, and buffer size. A buffer that is too small causes dropouts; too large adds latency. The fundamentals are not glamorous, but they prevent wasted effort later.

Step 2: Assess your starting point
Record a one-minute sample of your typical speaking environment using the microphone and software you actually use. Listen with headphones and note specific issues: hum, hiss, room reverb, keyboard noise, or level inconsistency. Measure your baseline latency if possible by clapping and listening for delay, or use free tools that report audio round-trip time. Document your current settings: sample rate, gain level, and any enabled enhancements. This assessment gives you an objective before-and-after reference instead of relying on memory.
Step 3: Set clear goals
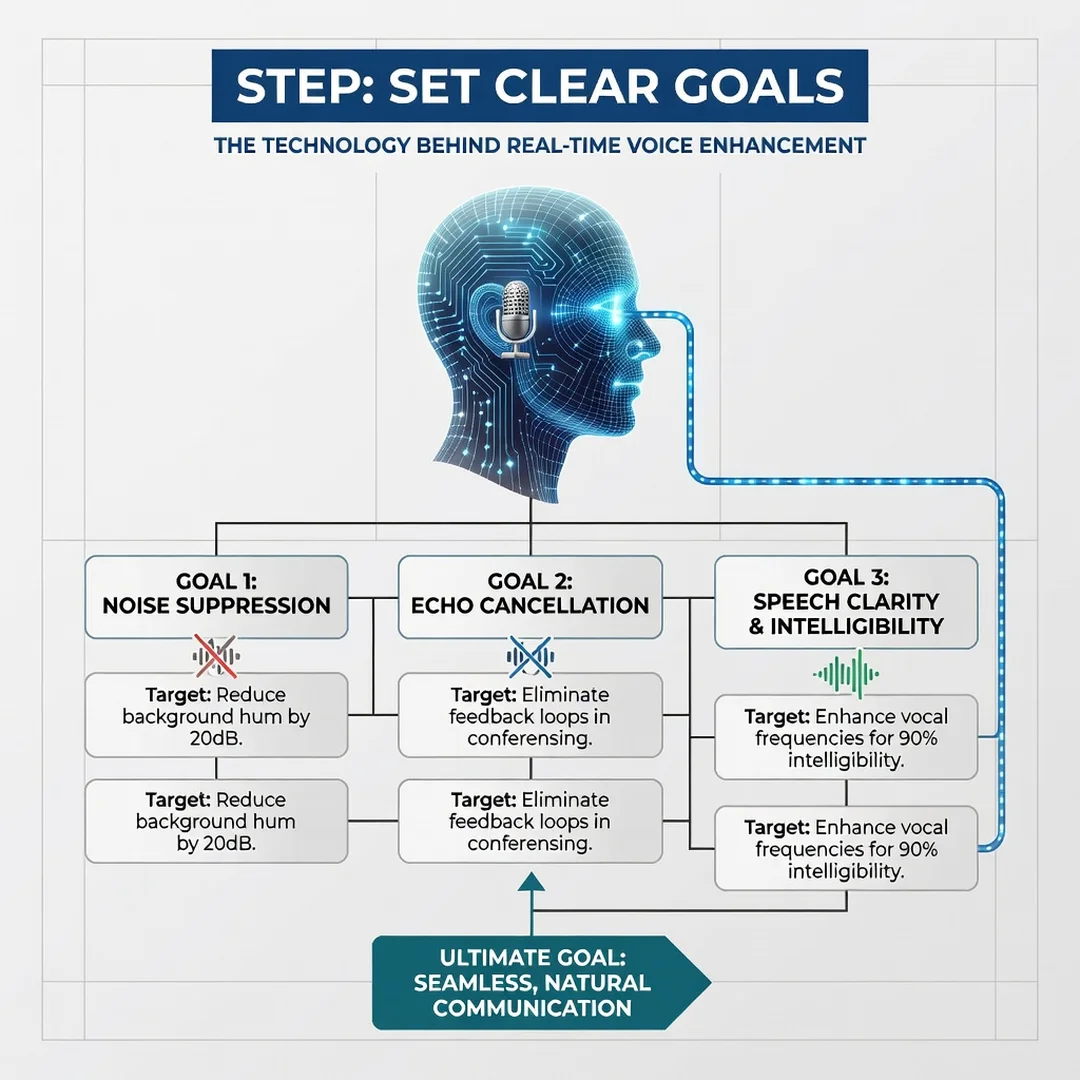
Define what success sounds like for your use case. A podcaster may prioritize warmth and low noise. A customer support agent needs maximum intelligibility with minimal latency. A gamer wants voice isolation without cutting off emotional cues. Write down two or three measurable goals, such as reduce background hum by 15 decibels or keep total processing latency under 30 milliseconds. Clear goals prevent you from endlessly tweaking settings that do not matter for your situation.
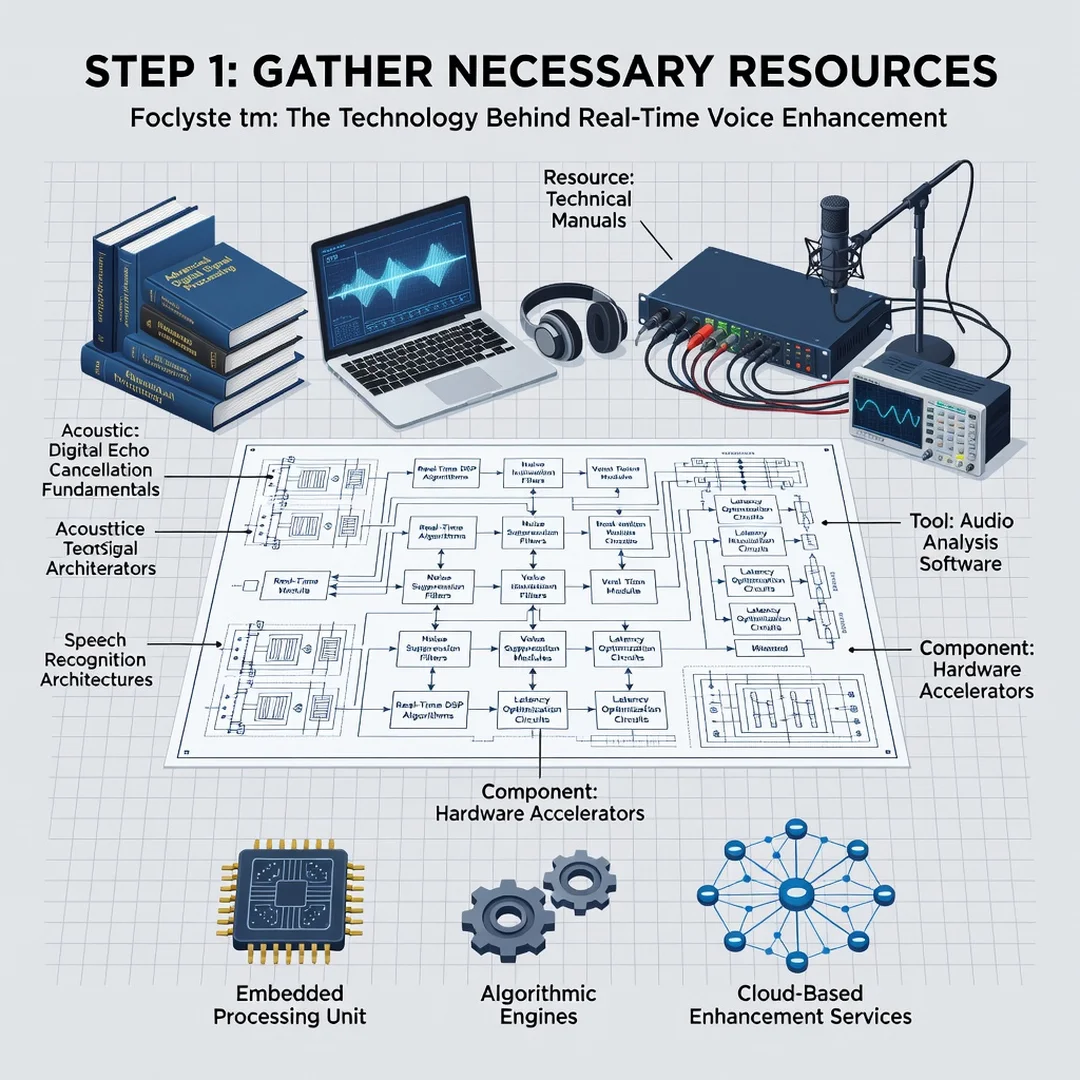
Step 4: Gather necessary resources
You need a decent microphone placed correctly, closed-back headphones to monitor without feedback, and software that matches your goals. For most people, a USB dynamic microphone or a headset mic outperforms a laptop’s built-in array. Choose one primary enhancement tool rather than layering several. If you are technical, look for tools that expose latency, noise reduction strength, and voice isolation controls. If you are not, prefer presets labeled for calls, streaming, or noisy rooms. Also gather a quiet reference recording to compare against later.
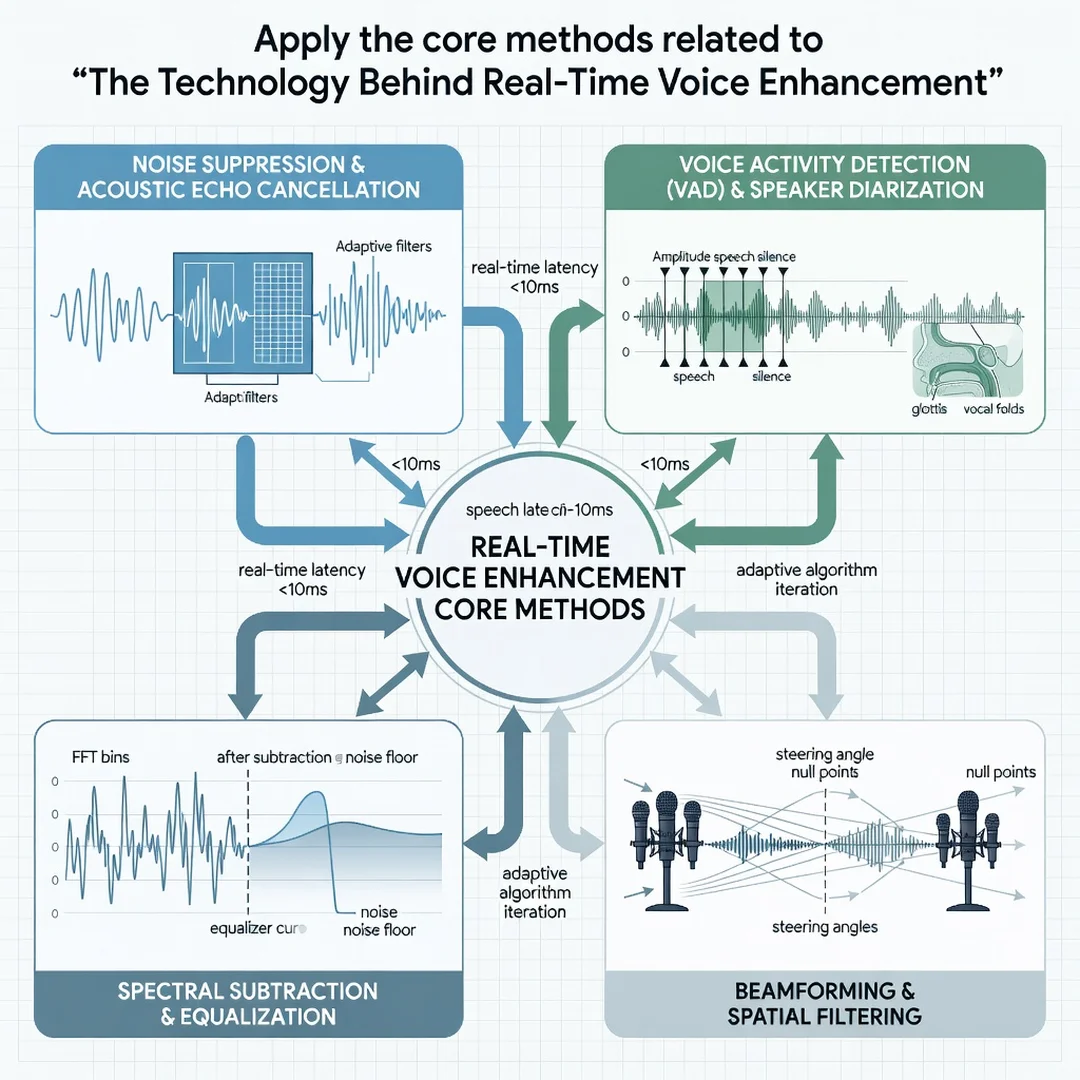
Step 5: Apply the core methods
Work in this order: physical setup, gain, echo cancellation, noise suppression, then tone shaping. First, position the microphone six to ten inches from your mouth, slightly off-axis to reduce plosives. Set gain so normal speech peaks around minus 12 to minus 6 decibels. Enable echo cancellation if you use speakers; disable it if you always use headphones to save latency. Turn on noise suppression at a moderate level, then increase only if needed. Add a gentle high-pass filter around 80 to 100 hertz to remove rumble. Finally, apply light compression to even out levels. Test after each change and keep notes. The goal is the smallest set of adjustments that solves your actual problems.
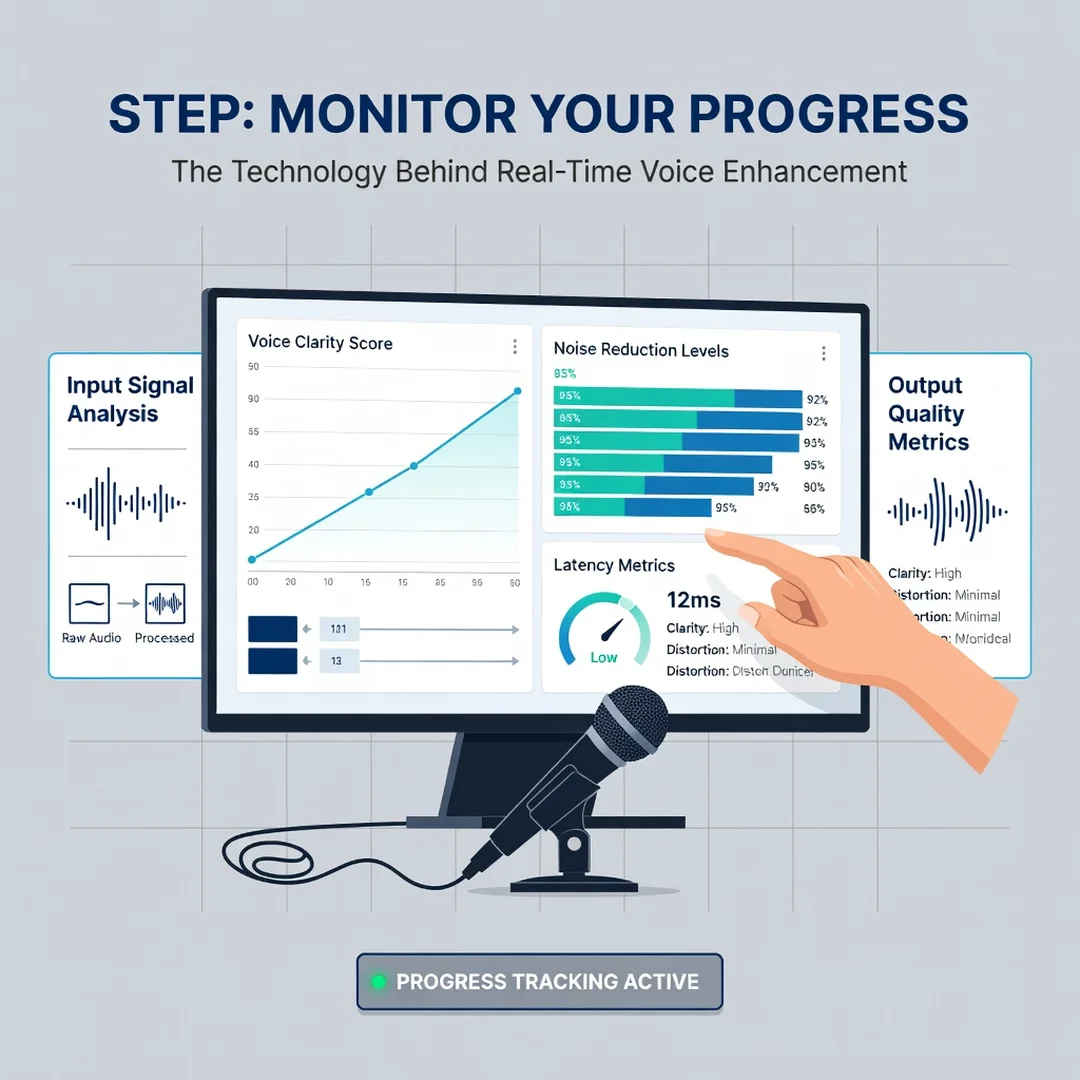
Step 6: Monitor your progress
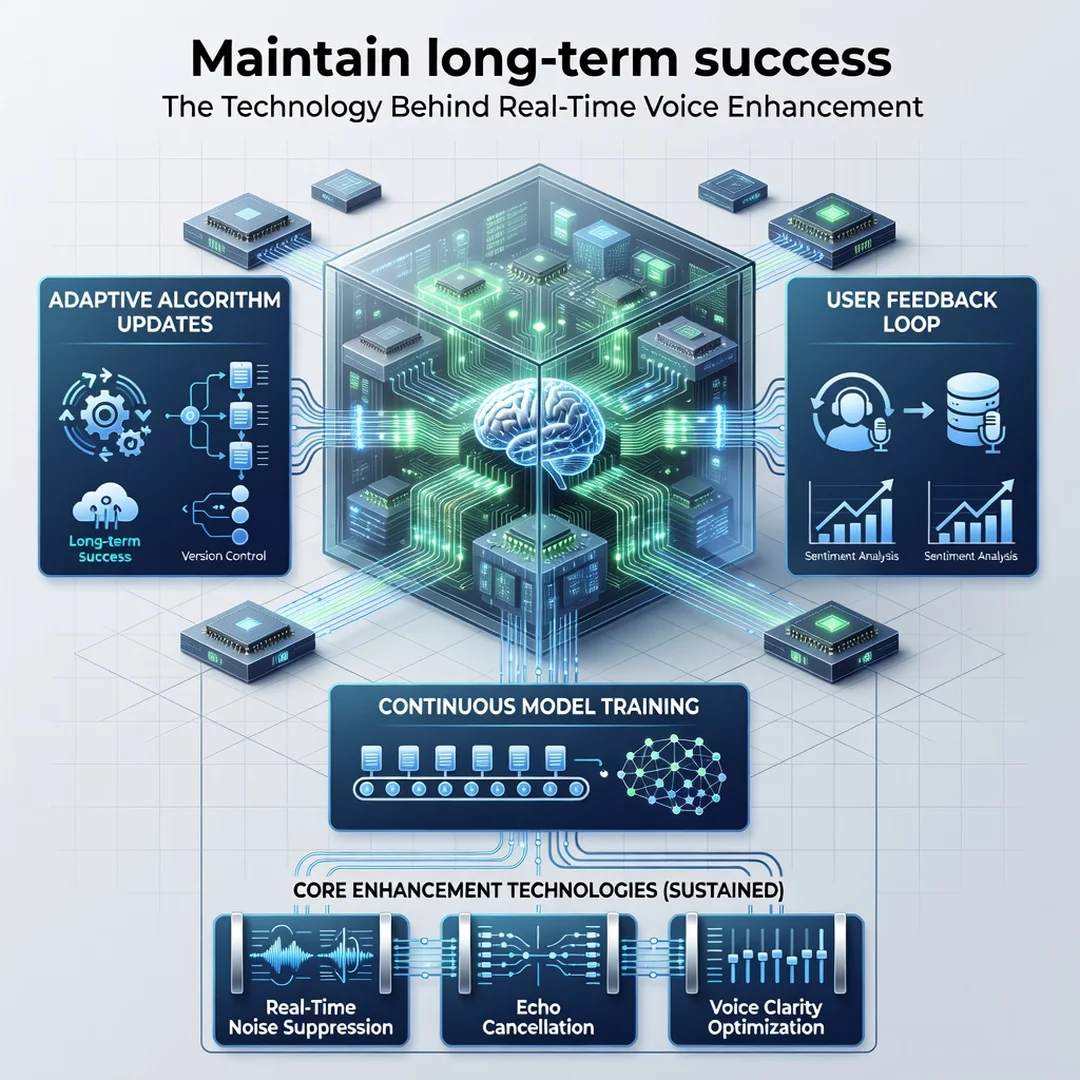
Re-record the same one-minute sample in the same environment and compare it to your baseline. Ask a colleague or friend to rate intelligibility on a call. Watch for new artifacts such as robotic speech, pumping background, or clipped words. Check latency regularly, because software updates can change buffer behavior. Set a monthly reminder to review settings, especially after changing microphones or meeting platforms. Consistent monitoring turns a one-time fix into a reliable system.
Deep Dive
Now that you understand the pipeline and a practical workflow, let us look closer at how real-time systems actually achieve their results. The engineering trade-offs explain why two tools with similar specifications can sound very different.
Time-domain versus frequency-domain processing
Some operations run directly on the waveform (time domain), while others convert short overlapping windows into frequency bins (frequency domain). Frequency-domain processing makes it easy to attenuate specific bands, which is powerful for noise suppression. But the conversion itself adds latency and can smear transients. Real-time voice enhancement often uses very short windows, sometimes just a few milliseconds, and accepts less frequency resolution to keep delay low. This is a key reason real-time noise reduction sounds less clean than studio post-processing.
Beamforming with microphone arrays
Laptops, smart speakers, and conference pucks often contain multiple microphones. A beamformer compares the tiny time differences between microphones to favor sound coming from one direction, usually where the talker is. This spatial filtering is very effective against diffuse noise. However, it assumes the talker stays in the beam. If you move around, the enhancement may fade or distort. Better systems track the talker’s position dynamically, but that adds complexity.
Neural network architectures for voice
Most real-time neural enhancers use recurrent or convolutional layers with a small number of parameters. They are trained on pairs of noisy and clean speech, learning to predict a mask that suppresses noise while preserving voice. Some models also estimate the clean waveform directly. The biggest challenge is generalization: a model trained on cafés may fail in a car. Manufacturers often fine-tune on diverse data and include fallback DSP so that unusual noise does not cause bizarre artifacts.
Voice isolation and target speaker extraction
Newer systems go beyond generic noise suppression to isolate a specific speaker. They may use a short enrollment phrase or continuously track the dominant voice. This is useful when multiple people share a room. The technology behind this often combines speaker embedding models with separation networks. It is impressive but not perfect; overlapping speech remains difficult, and processing demands are higher than simple suppression.
Codec interaction and network effects
Enhancement does not happen in a vacuum. After processing, audio is compressed by a codec such as Opus or AAC for transmission. Aggressive noise suppression can remove low-level details that the codec would otherwise use efficiently, sometimes making artifacts more audible. Similarly, packet loss concealment in the network can interact badly with enhancement. Good real-time systems are tuned together with the codec and jitter buffer, not separately.
Best Practices
Use these guidelines to get reliable results without over-engineering.
- Fix the room before the software. Soft furnishings, a rug, and moving the microphone away from walls reduce echo more than any plugin.
- Use one enhancement chain. Stacking multiple noise suppressors often creates hollow, watery speech.
- Prefer headphones for monitoring and for avoiding echo. This lets you disable echo cancellation and save latency.
- Set gain correctly at the source. No amount of processing fully rescues a signal that is too quiet or clipping.
- Test on real calls, not just recordings. Network conditions and far-end devices change what people actually hear.
- Keep latency visible. If your tool reports processing delay, note it and avoid settings that push it too high.
- Update firmware and software thoughtfully. Improvements are common, but occasionally a new version changes default processing.
You now have a solid foundation for The Technology Behind Real-Time Voice Enhancement. Apply the best practices above and revisit this guide as your needs evolve.