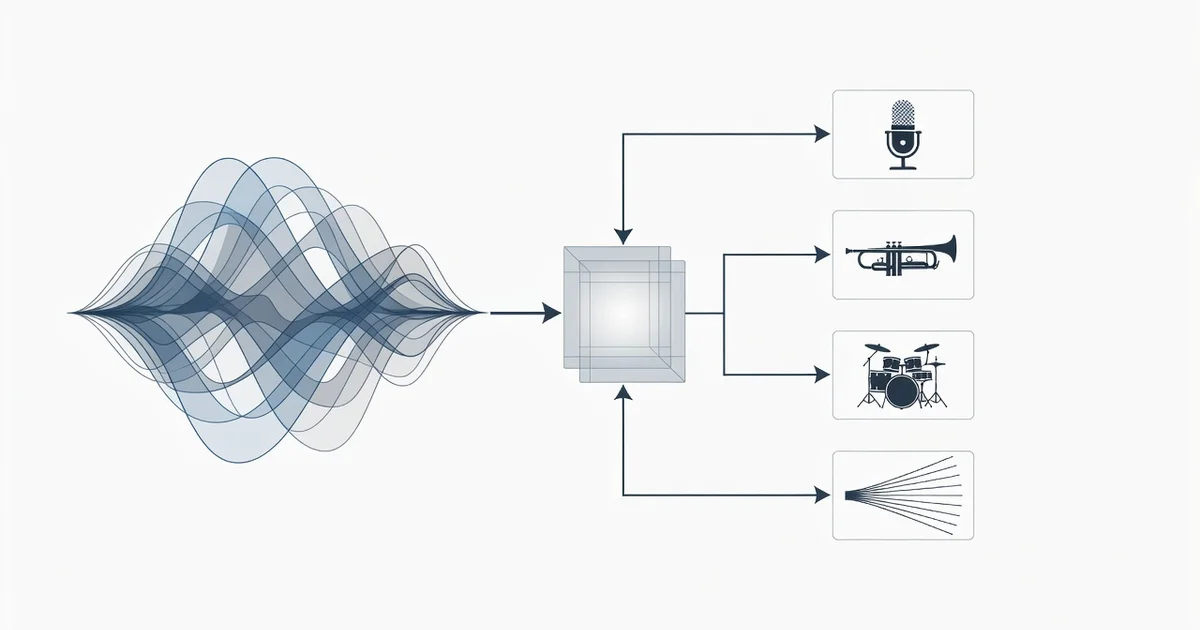
Have you ever wished you could isolate just the vocals from a song or remove background noise from a recording? That’s exactly what audio source separation makes possible. This technology breaks a mixed audio track into its individual components—like vocals, drums, bass, and instruments—so you can work with each part independently.
While it sounds highly technical, audio source separation powers tools you may already use, from music production apps to noise-canceling headphones. In this article, we’ll explain how it works in plain terms and explore the many real-world places it’s applied.
Introduction
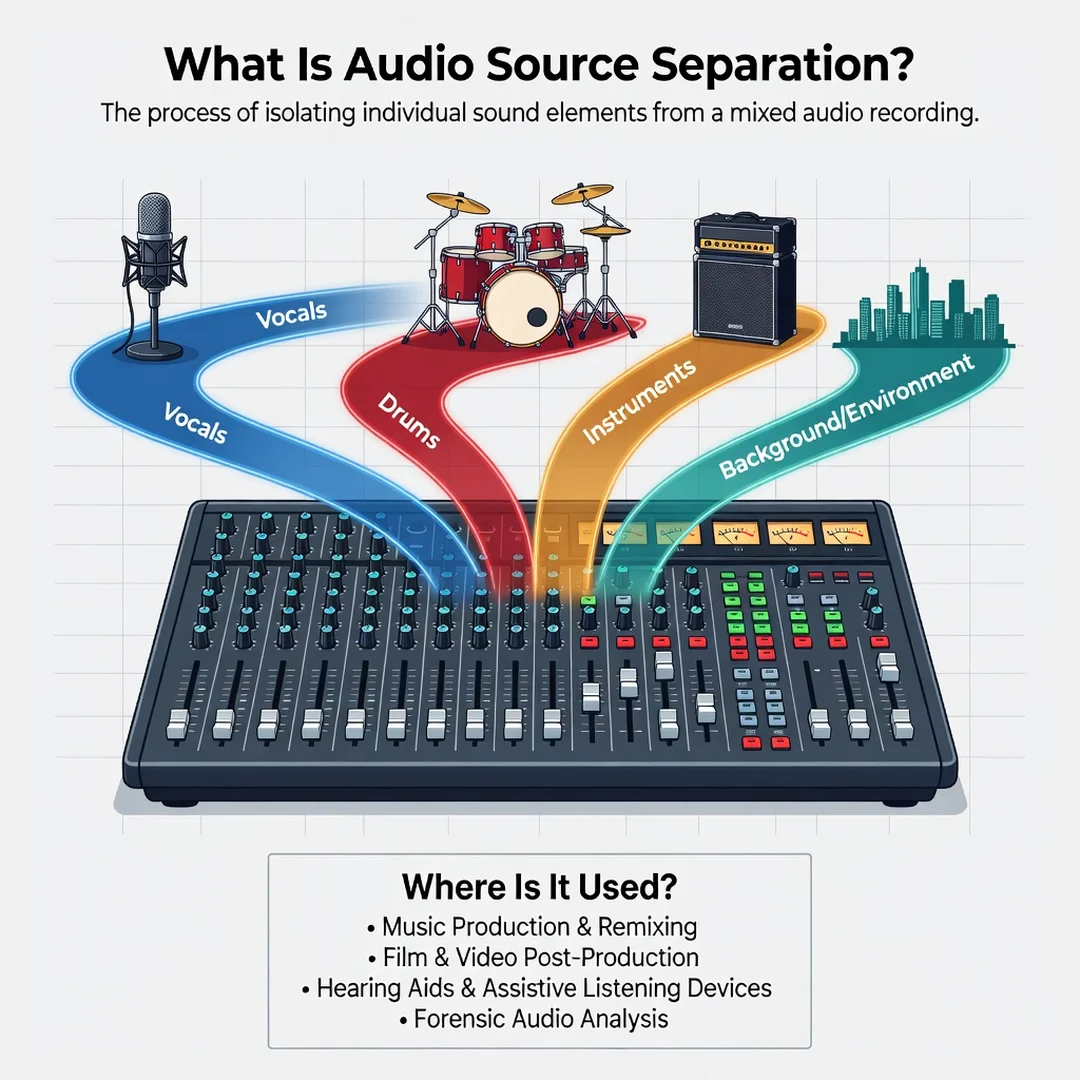
Audio source separation is the process of taking a single mixed recording and breaking it apart into its individual components — typically vocals, drums, bass, and other instruments. If you have ever listened to a song and wished you could isolate just the singer’s voice, or remove the drums so you could practice guitar along with the track, you have already encountered the practical motivation behind this technology. What was once a specialized research problem confined to academic labs and expensive studio equipment is now available in apps, browser tools, and open-source software that anyone can use.
This article explores What Is Audio Source Separation and Where Is It Used with clear, practical guidance. You will learn the core vocabulary, how the underlying methods work at a high level, where the technology shows up in real industries, and how to get reliable results without wasting time on tools that promise more than they deliver. Understanding the fundamentals of What Is Audio Source Separation and Where Is It Used helps you make informed decisions, whether you are a musician, a podcaster, a video editor, a researcher, or simply a curious listener. Reliable information and consistent habits lead to better long-term outcomes, and the same is true here: a clear mental model will serve you far better than a folder full of random apps.
Crucially, source separation is not the same as noise reduction, equalization, or remixing. Those are related tasks with different goals. Noise reduction tries to suppress unwanted sound; equalization changes the balance of frequencies across the whole mix; remixing adjusts levels and panning of tracks you already have separately. Source separation attempts something structurally harder: estimating signals that were never recorded in isolation. Keeping that distinction in mind will prevent a lot of confusion as you explore the tools below.
Key Concepts
Before diving into applications, it helps to fix a few terms. These appear constantly in product descriptions, research papers, and forum discussions, and misunderstanding them leads to mismatched expectations.
- Mixture: The single audio file you start with — a stereo or mono recording containing everything blended together.
- Stem: An isolated track produced by separation, such as a vocal stem, drum stem, or bass stem. In film and game audio, stems are often prepared deliberately during production; in separation, they are estimated after the fact.
- Source: The individual sound-producing element — a singer, a snare drum, a cello, a dog barking, or even a specific speaker in a conversation.
- Masking: A common technique where the system decides, moment by moment, which time-frequency regions belong to which source. Think of it as a very detailed, automated volume fader.
- Artifacts: The unwanted side effects of separation, such as watery or metallic-sounding vocals, smeared cymbals, or faint bleed from other instruments.
- Spectral leakage: When energy from one source bleeds into another’s estimated track, often audible as a ghostly remnant of the full mix.
The quality of separation depends heavily on the music itself. Sparse arrangements with distinct frequency ranges separate more cleanly than dense, heavily compressed productions where many instruments overlap. A solo piano recording will yield near-perfect results; a wall-of-sound rock mix with layered guitars, reverb, and loud mastering will challenge any algorithm. Knowing this upfront saves frustration.
It also helps to distinguish between informed and blind separation. Informed separation uses extra information — a known score, a reference recording, or a model trained on the specific artist — to guide the split. Blind separation uses only the mixture itself. Almost all consumer tools today are blind, which is why they occasionally produce strange results on unusual material.
Deep Dive
Modern audio source separation rests largely on deep neural networks. For roughly two decades, the dominant academic approach involved statistical models that assumed independence between sources — the idea being that if vocals and guitar are unrelated signals, you can mathematically pull them apart. These methods worked in controlled conditions but struggled with real commercial music.
The turning point came when researchers began training neural networks on enormous datasets of paired mixtures and isolated stems. By exposing a model to thousands of songs where both the full mix and the individual tracks were known, the network learned the statistical fingerprints of vocals, drums, bass, and other instruments. At inference time, it can take a brand-new mixture it has never seen and predict what each source probably sounded like.
Two architectural families dominate. The first works on the waveform directly, learning to output separate time-domain signals. The second, more common approach, converts audio into a time-frequency representation — a spectrogram — and predicts a mask for each source, then reconstructs the audio. Spectrogram-based systems are efficient and robust, though they can introduce phase-related artifacts. Waveform-based systems avoid some of those artifacts but demand more computation.
Most consumer tools split audio into four standard stems: vocals, drums, bass, and “other” (everything else). Some specialize further, isolating piano, guitar, or even individual drum hits. A few focus on speech: separating two overlapping speakers in a podcast or interview, or extracting a single voice from background noise in a field recording.
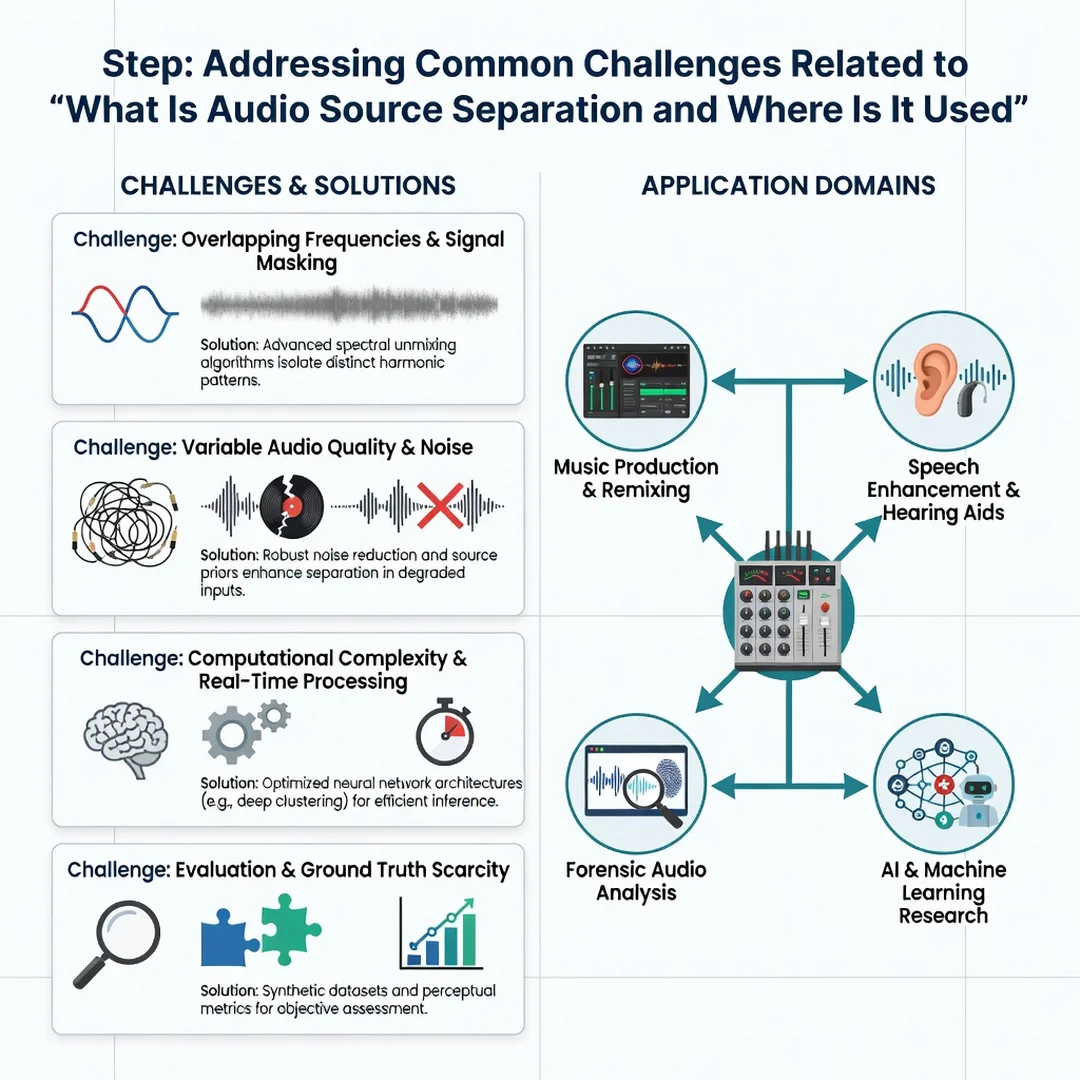
Where is it used? The applications are broader than most people expect:
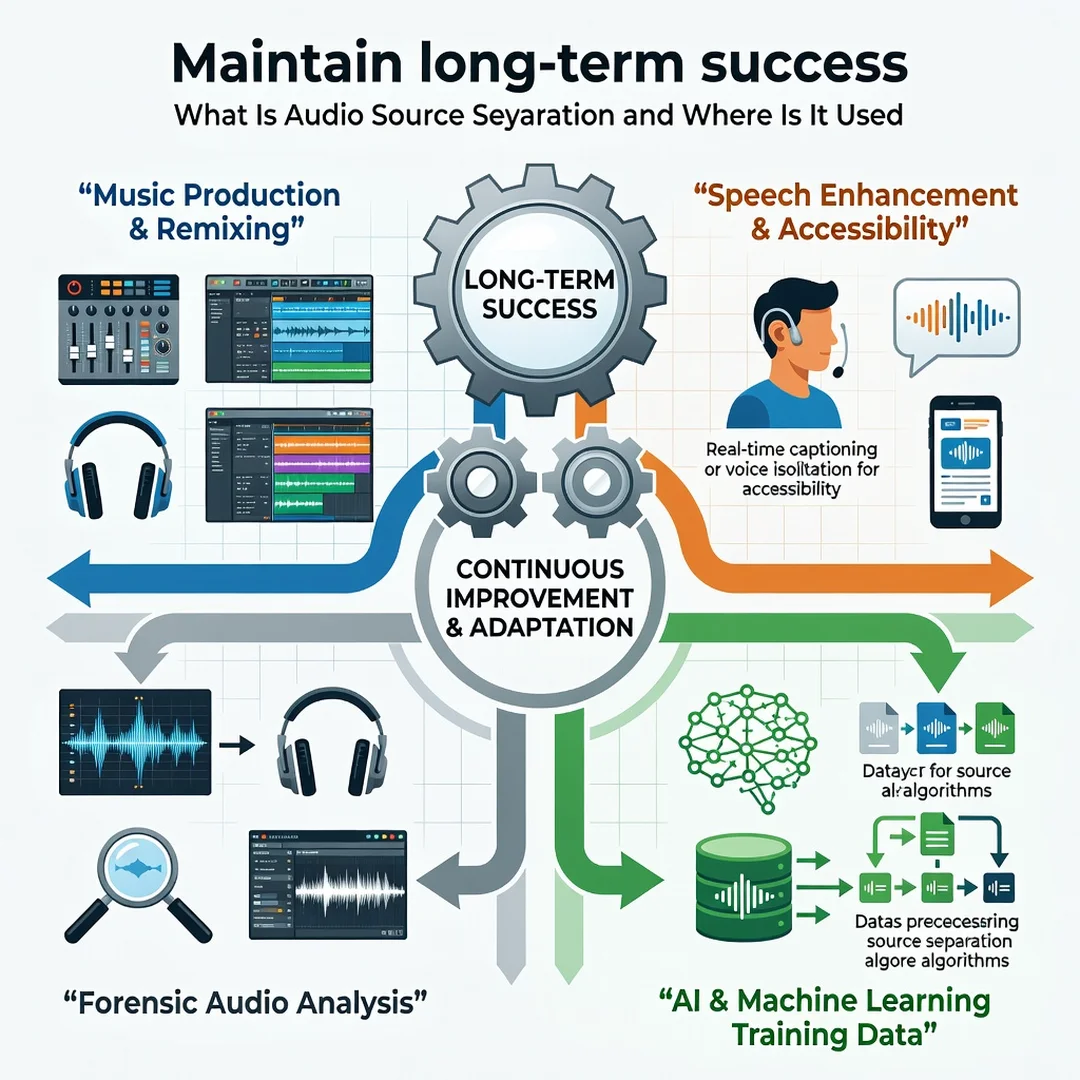
- Music production and remixing: Producers extract a cappella vocals for remixes, isolate a bassline to study it, or create backing tracks for live performance.
- Practice and education: Musicians slow down and loop isolated parts; students transcribe solos by removing competing instruments; language learners isolate dialogue from background music.
- Podcasting and broadcasting: Editors clean up interviews, remove crosstalk, or salvage a recording where one microphone failed.
- Film, TV, and game audio: Dialogue isolation, dubbing preparation, and adaptive soundtracks that respond to gameplay.
- Forensics and archival work: Enhancing surveillance recordings and restoring historical audio where the original multitracks are lost.
- Hearing assistance and accessibility: Emphasizing speech or reducing competing sounds in real time, a growing area of hearing-aid research.
- Machine learning and dataset creation: Generating labeled training data and enabling tasks like automatic transcription and music information retrieval.
It is important to set realistic expectations. Separation is an estimation problem, not a perfect undo. You will almost always hear some artifacts, and the isolated stems are best treated as useful approximations rather than pristine studio multitracks. For many workflows — practice, remixing, transcription, cleanup — that approximation is more than good enough.
Best Practices
Getting good results is as much about process as about picking the right tool. The following habits consistently improve outcomes:
- Start with the best possible source file. Use a lossless or high-bitrate file rather than a heavily compressed stream. Compression removes information the model could have used.
- Match the tool to the task. A four-stem music model is not the right choice for separating two speakers in an interview. Specialized models exist for speech, and using them pays off.
- Work in short sections when precision matters. Separating a thirty-second chorus often yields cleaner results than processing a full song, because the model has less to track.
- Expect to layer cleanup. Follow separation with gentle noise reduction, EQ, or gating to reduce bleed. Do not overdo it — aggressive processing introduces its own artifacts.
- Keep your originals untouched. Always preserve the unprocessed mixture so you can revisit decisions later.
- Compare before committing. Run the same short clip through two or three tools. Quality varies dramatically by genre and material.
- Document what worked. A simple note about which settings and tools produced acceptable results for a given type of material saves hours on the next project.
These habits reflect a broader principle: reliability comes from consistency, not from chasing every new release. A stable workflow with known limitations beats a chaotic stack of experimental apps.
Step 1: Understand the fundamentals
Before downloading anything, make sure you can explain the difference between a mixture and a stem, and between separation and noise reduction. Read one or two plain-language overviews. The goal is a working vocabulary so that product documentation and forum advice make sense rather than adding to the noise.
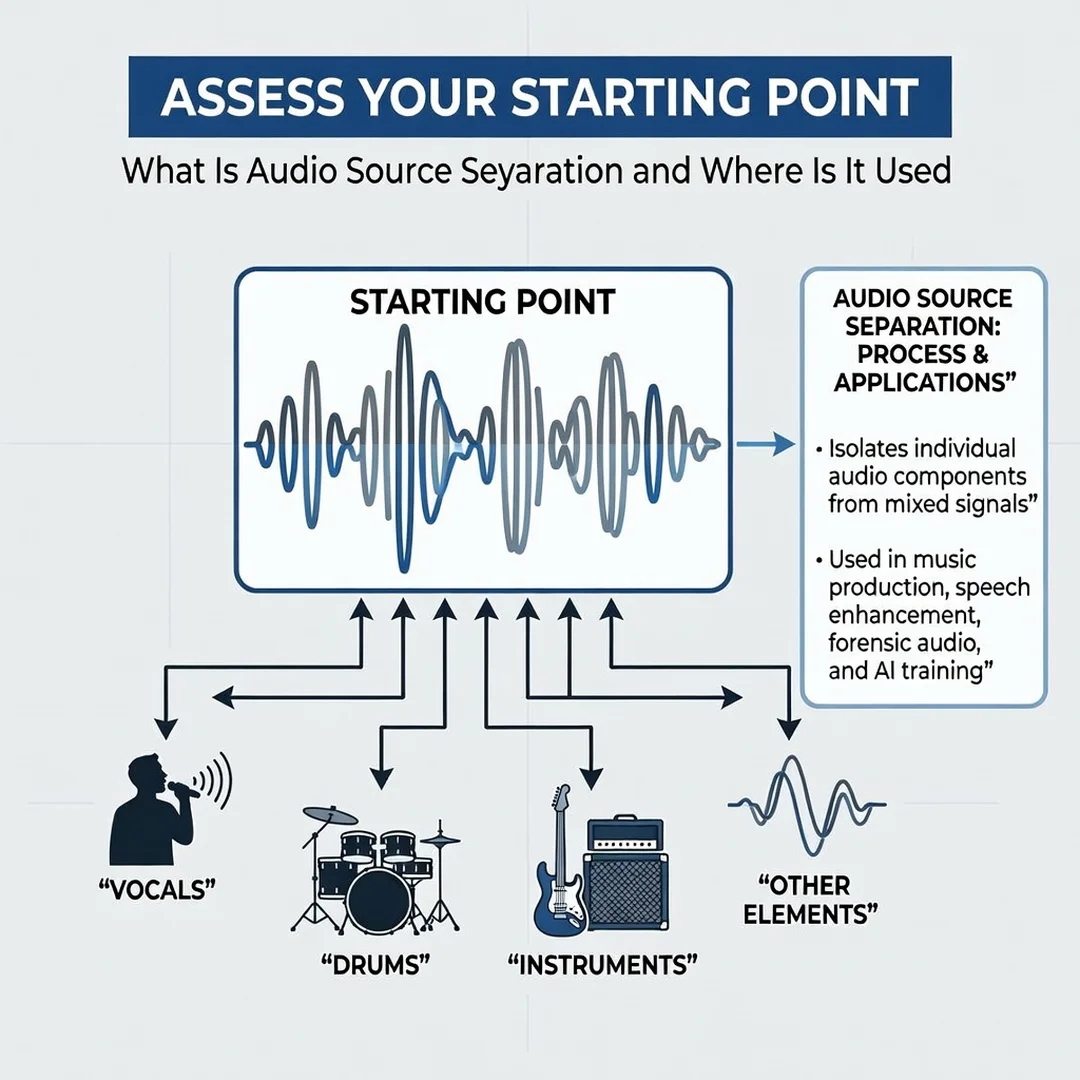
Step 2: Assess your starting point
Examine the audio you actually have. What format is it? How dense is the mix? How many sources overlap? Is the material music, speech, or field recording? Note obvious problems such as clipping, heavy compression, or background noise. This assessment determines which class of tool will realistically help.
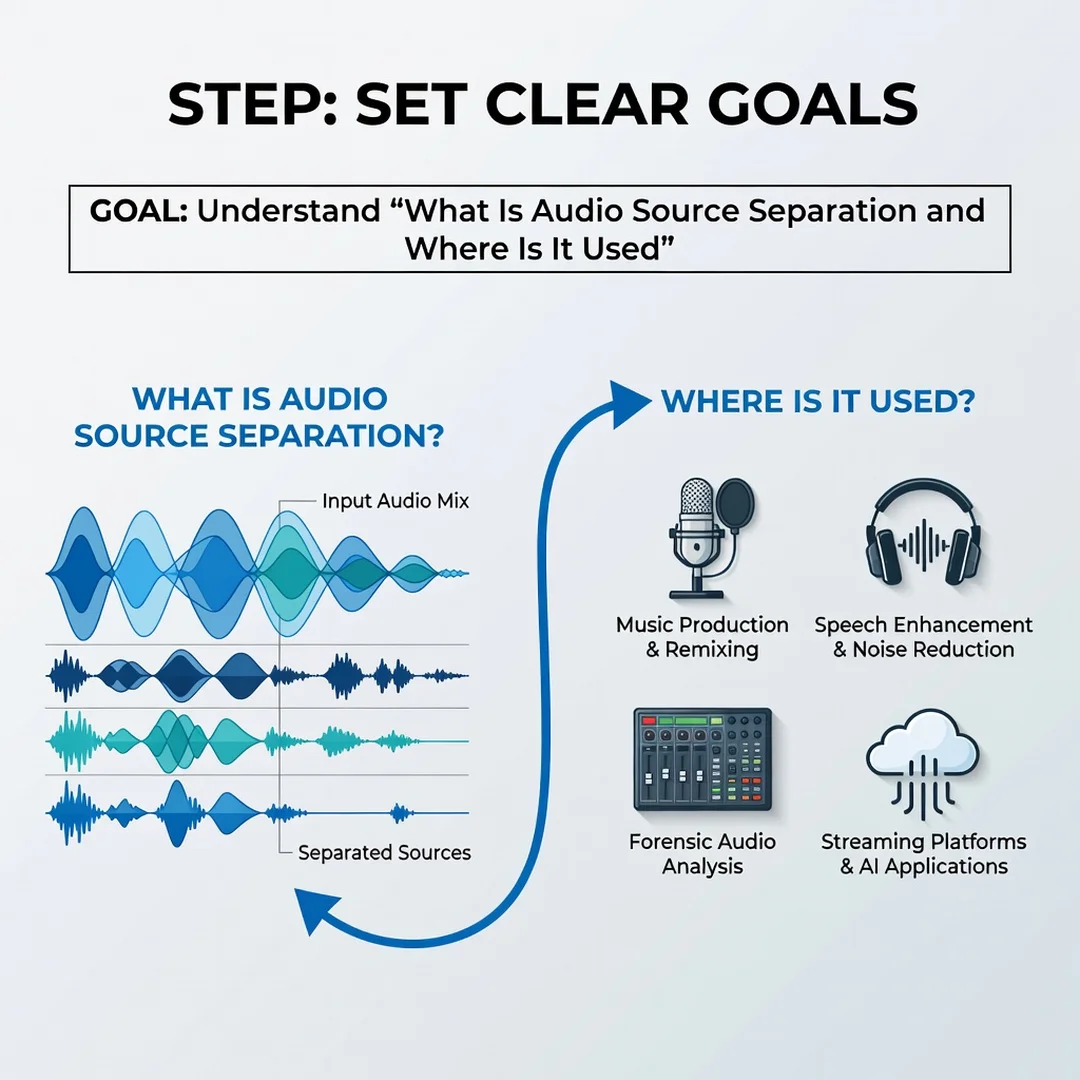
Step 3: Set clear goals
Decide what “good enough” means for your project. A stem used for casual practice has a much lower bar than one used in a commercial release. Write down your success criteria — for example, “vocals intelligible with acceptable bleed” or “drums isolated well enough to loop.” Clear goals prevent endless tweaking.
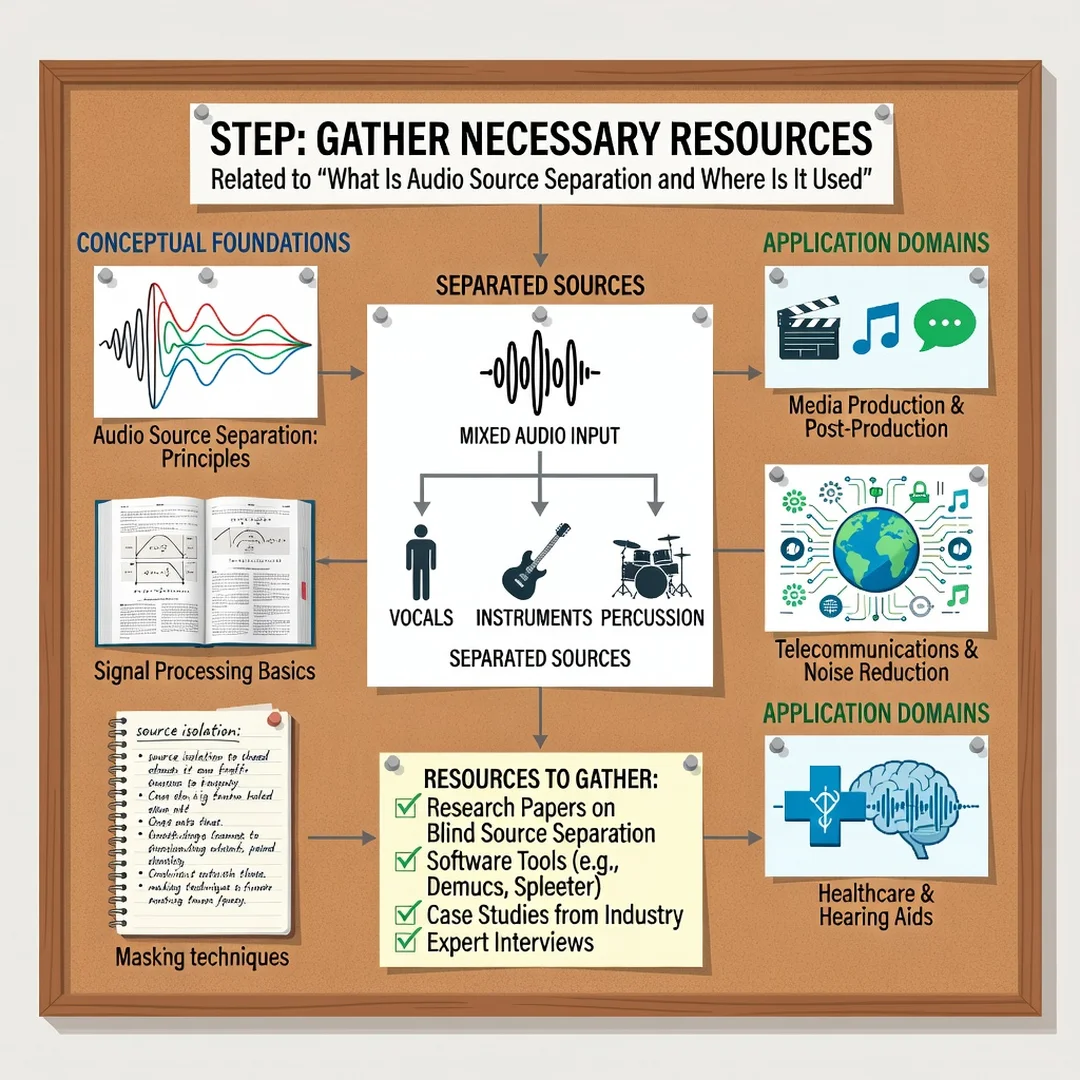
Step 4: Gather necessary resources
Collect the tools and files you need: the cleanest source audio available, one or two separation tools (a free tier and one paid option is a sensible pairing), an audio editor for post-separation cleanup, and enough storage and processing power. If you plan to process long files, check whether the tool runs locally or in the cloud, since that affects privacy and cost.
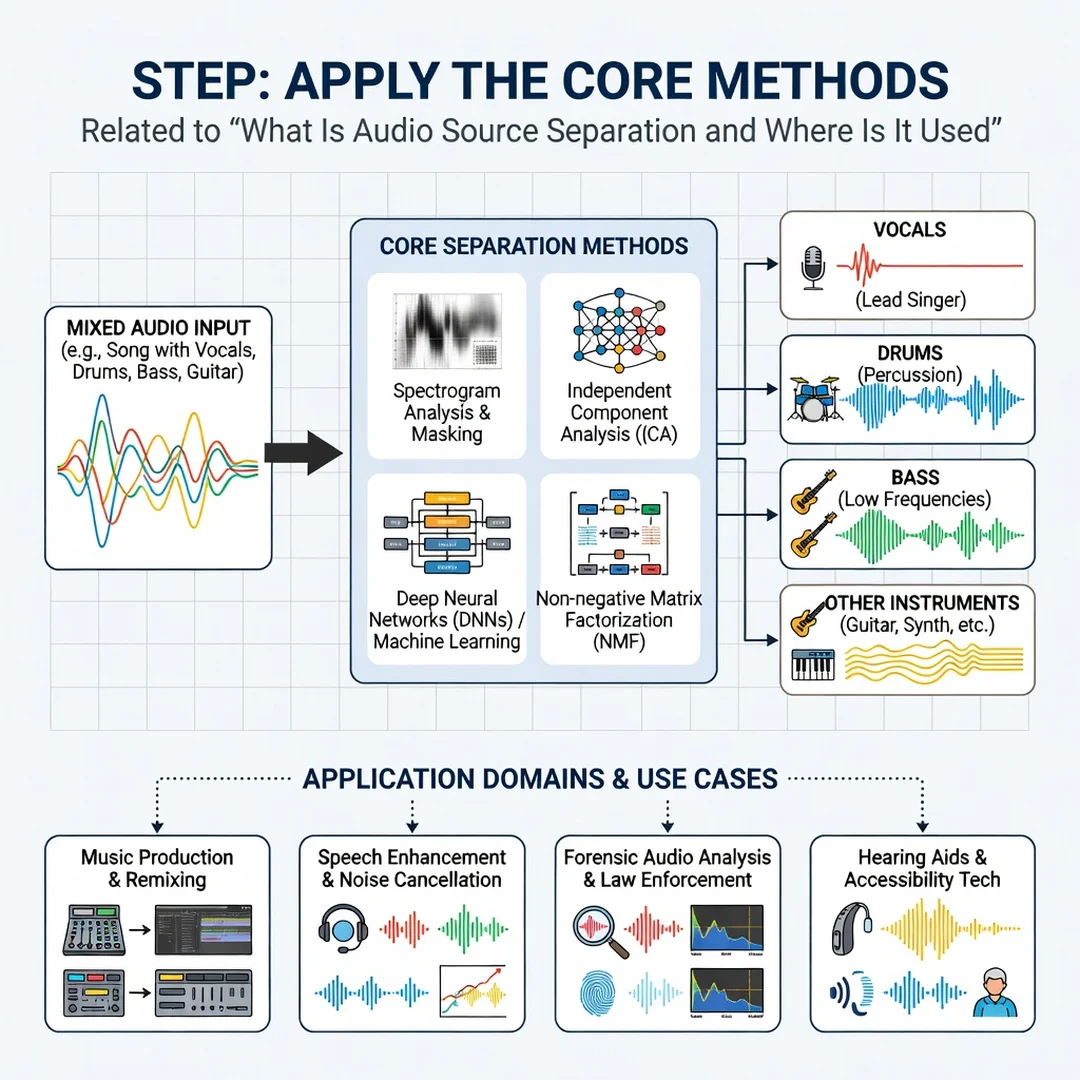
Step 5: Apply the core methods
Run a short test section through your chosen tools first. Compare the stems, choose the best, then process the full file. Follow separation with light cleanup — a high-pass filter on vocals, a gate on drums, mild noise reduction where needed. Keep each step reversible by saving intermediate versions.
Step 6: Monitor your progress
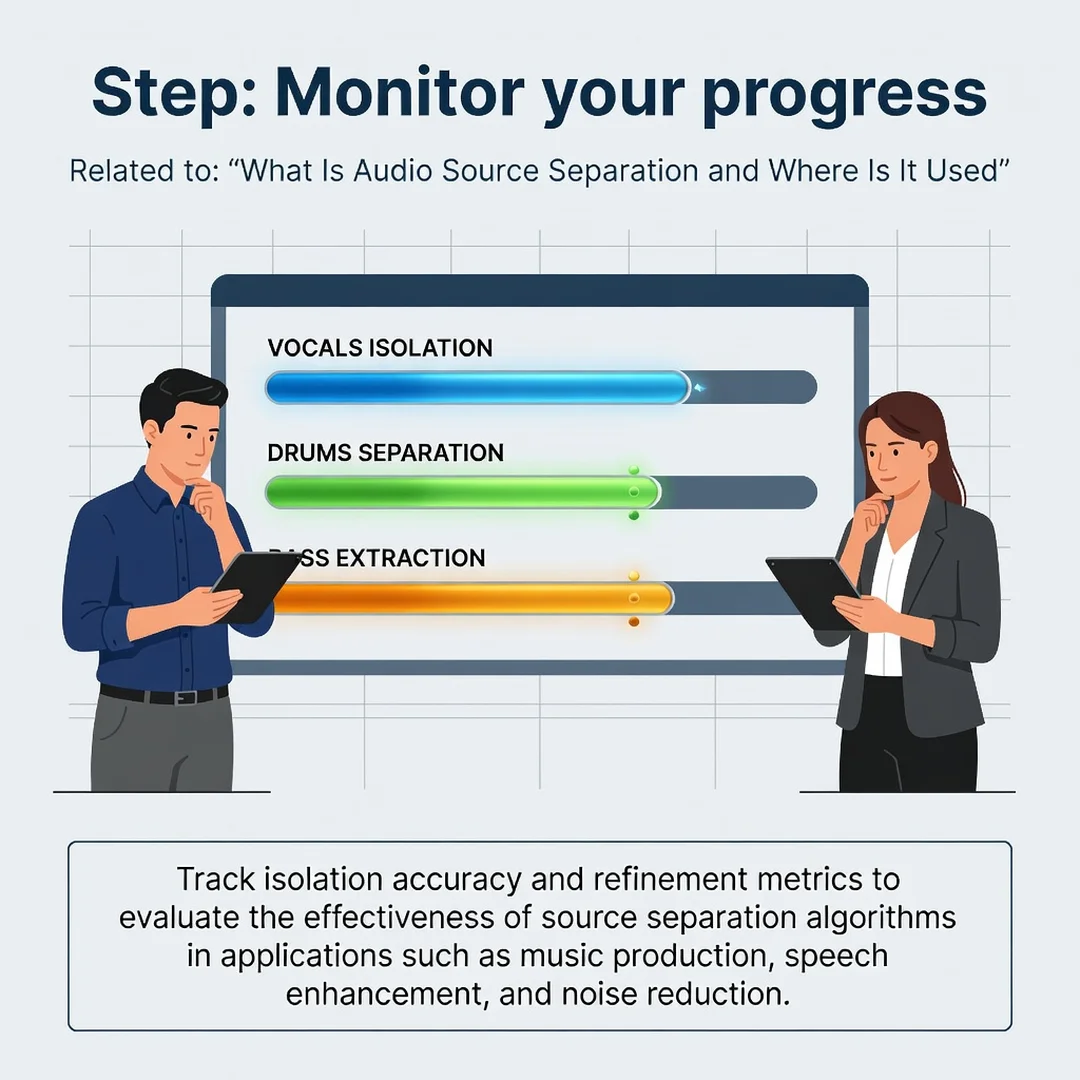
Listen critically after a break, and on more than one playback system — headphones, speakers, and ideally a phone. Track which tools and settings produced the best results for each genre. Over time this log becomes your most valuable reference, and your results improve with each project.
FAQ
What should I know about What Is Audio Source Separation and Where Is It Used?
At its core, it is the task of estimating individual sound sources from a mixed recording. It is used in music production, remixing, practice and education, podcast and broadcast cleanup, film and game audio, forensics, hearing assistance, and machine learning datasets. The key limitation to understand is that results.
You now have a solid foundation for What Is Audio Source Separation and Where Is It Used. Apply the best practices above and revisit this guide as your needs evolve.