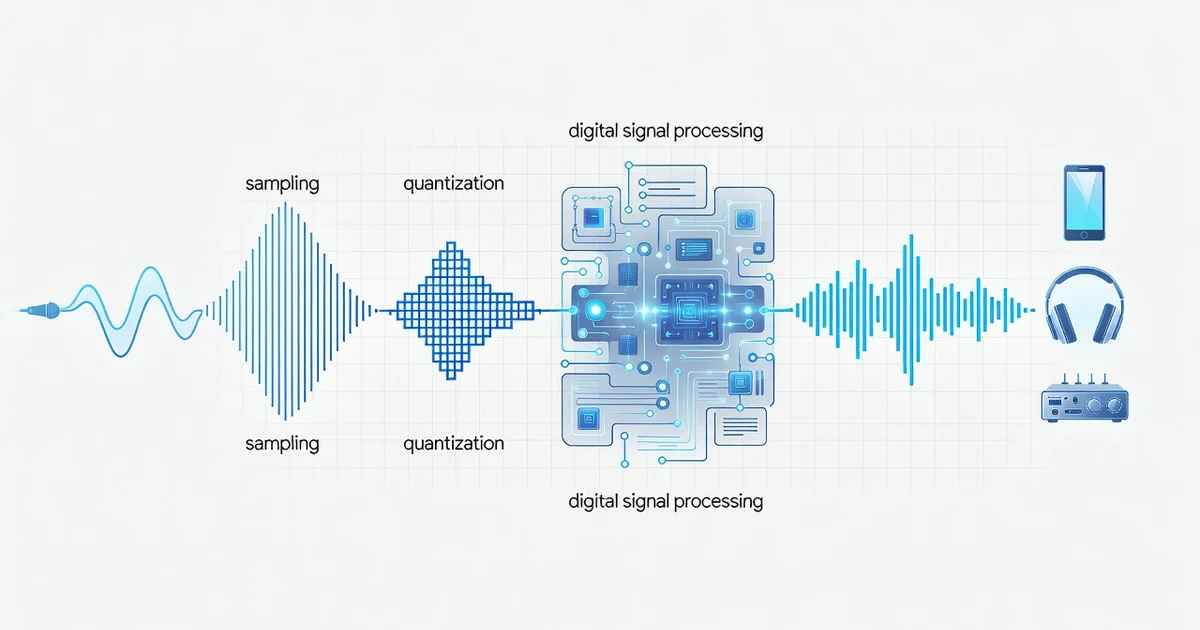
Every time you stream a song, take a call, or ask a smart speaker a question, digital audio processing is working behind the scenes to make that sound clear and reliable. It’s the invisible technology that converts real-world sound waves into digital data—and back again—so your devices can capture, clean up, and play audio with impressive precision.
Understanding how digital audio processing works doesn’t require an engineering degree. In this article, we’ll break down the core steps, from sampling and quantization to noise reduction and effects, and show you why it matters for the headphones, phones, and speakers you use every day.
Introduction
Every time you tap play on a streaming app, join a video call, or ask a smart speaker to set a timer, a remarkable chain of mathematical operations unfolds in milliseconds. Digital audio processing is the invisible engine behind that chain. It converts continuous sound waves into discrete numbers, manipulates those numbers in ways that shape what you hear, and then converts them back into analog signals that drive speakers or headphones. This article explores How Digital Audio Processing Works in Modern Devices with clear, practical guidance, so you can understand what happens between a sound source and your ears. You do not need an engineering degree to grasp the core ideas. What you need is a straightforward explanation of the building blocks and how they connect. By the end, you will be able to make informed decisions about audio gear, software settings, and listening habits. Understanding the fundamentals of How Digital Audio Processing Works in Modern Devices helps you make informed decisions, whether you are choosing a new pair of wireless earbuds, configuring a home studio, or simply trying to get clearer call quality. Reliable information and consistent habits lead to better long-term outcomes, both in how you evaluate devices and in how you troubleshoot common audio problems.
Key Concepts
At its heart, digital audio processing relies on a few foundational concepts. Once you understand these, the rest of the field becomes much easier to navigate.
Sampling and Quantization
Analog sound is a continuous wave. To store or process it digitally, a device must take snapshots of that wave at regular intervals. This process is called sampling, and the number of snapshots per second is the sample rate, measured in hertz (Hz). A standard CD uses a 44.1 kHz sample rate, meaning 44,100 snapshots per second. Higher rates like 48 kHz or 96 kHz capture more detail and are common in video production and studio recording. Each snapshot also needs a numeric value, which is determined by bit depth. A 16-bit depth offers 65,536 possible values per sample, while 24-bit depth offers over 16 million. More bits mean a wider dynamic range and lower noise floor. Together, sample rate and bit depth define the raw resolution of digital audio.
Digital Signal Processing (DSP)
Once audio is in digital form, it can be manipulated by algorithms known as digital signal processing, or DSP. DSP chips are tiny computers optimized for math on audio streams. They handle tasks like equalization, noise cancellation, compression, reverb, and volume leveling. In modern devices, DSP often runs in real time on dedicated hardware, which is why your wireless earbuds can cancel background noise without draining your phone battery in minutes.
Codecs and Compression
Raw digital audio takes up a lot of space. A single minute of CD-quality stereo audio is roughly 10 megabytes. To stream music or make phone calls, devices use codecs—algorithms that compress audio by removing redundant or less perceptible information. Lossy codecs like AAC and Opus discard some data to achieve small file sizes, while lossless codecs like FLAC preserve every bit. The choice of codec affects both bandwidth and perceived audio quality.
Latency and Buffering
Latency is the delay between when audio is captured or generated and when it is played back. Buffering collects chunks of audio data before processing to prevent stuttering. Smaller buffers reduce latency but require more processing power. Larger buffers improve stability at the cost of delay. Gamers and musicians care deeply about low latency, while casual listeners may never notice a few extra milliseconds.
Deep Dive
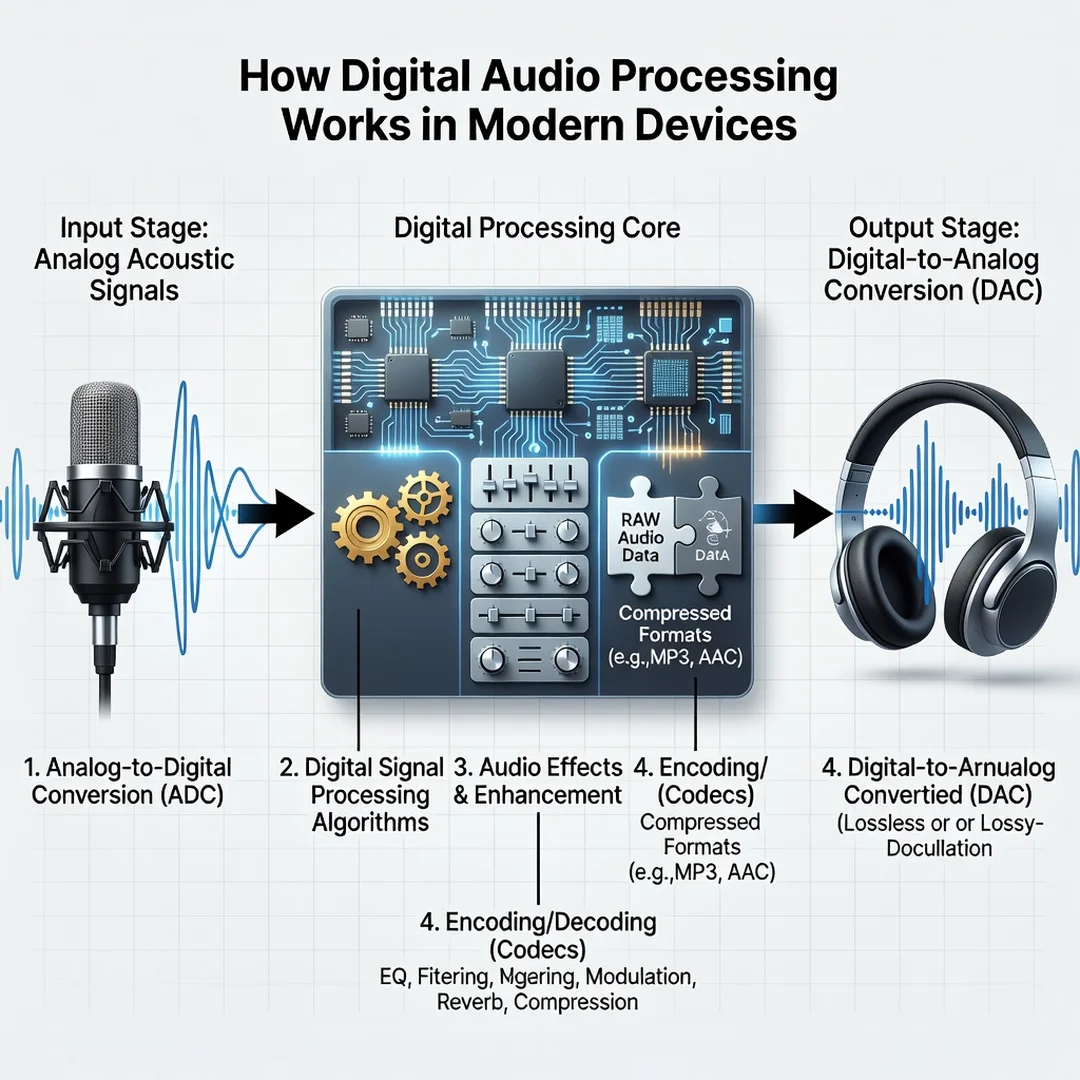
To truly understand How Digital Audio Processing Works in Modern Devices, it helps to follow the signal path from input to output. This journey involves several stages, each with its own trade-offs.
The Analog-to-Digital Conversion Stage
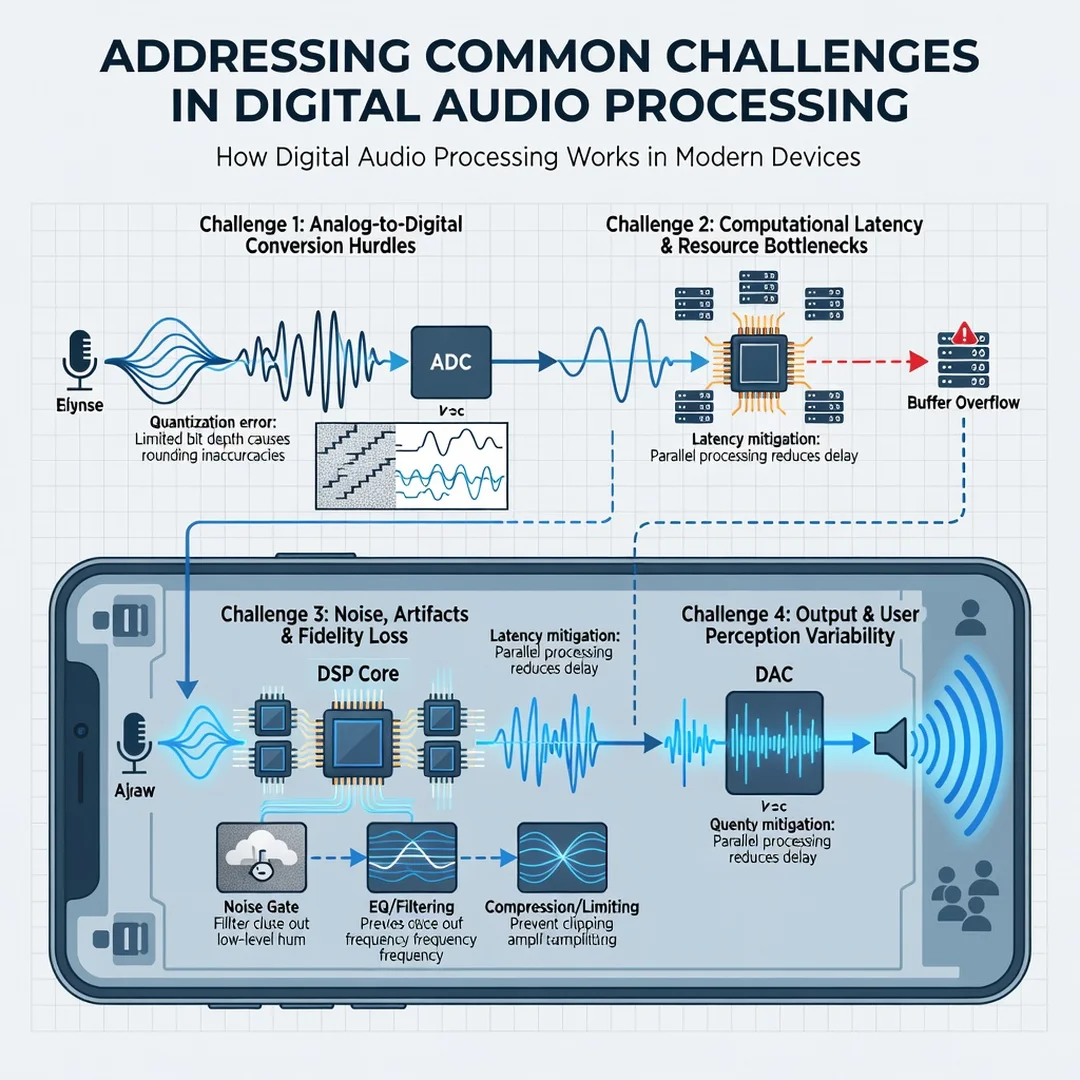
Microphones and instrument pickups produce analog voltage signals. An analog-to-digital converter (ADC) turns those voltages into digital samples. The ADC first applies an anti-aliasing filter to remove frequencies above half the sample rate, which prevents distortion called aliasing. Then it samples the filtered signal at the chosen rate and quantizes each sample to the nearest bit value. High-quality ADCs in modern smartphones and audio interfaces perform this process with very low noise and distortion.
The Processing Stage
Once digitized, the audio stream enters the DSP pipeline. Here, algorithms apply effects and corrections. For example, active noise cancellation (ANC) uses microphones to capture ambient sound, inverts its waveform, and mixes that inverted signal with the audio you want to hear. The result is destructive interference that reduces unwanted noise. Equalizers boost or cut specific frequency bands. Dynamic range compressors reduce the difference between quiet and loud parts, which is useful for late-night listening. All of this happens in the digital domain, where changes are precise and repeatable.
The Digital-to-Analog Conversion Stage
After processing, a digital-to-analog converter (DAC) turns the numbers back into a continuous voltage. The DAC reconstructs the waveform using interpolation and smoothing filters. The quality of the DAC affects clarity, stereo imaging, and background noise. Many modern devices use integrated DACs that are perfectly adequate for casual listening, while audiophiles often prefer external DACs for critical listening.
Real-World Examples
- Wireless earbuds: They receive compressed audio over Bluetooth, decode it, apply ANC and equalization, and drive tiny speakers. Latency is managed through buffering and codec choice.
- Smart speakers: They capture voice commands with microphone arrays, run beamforming and echo cancellation, send the cleaned audio to the cloud, and play back responses through their DAC and speaker.
- Studio audio interfaces: They convert analog inputs to digital at high sample rates and bit depths, route the data to a computer for recording and mixing, and convert the final mix back to analog for monitoring.
- Video conferencing apps: They apply noise suppression, automatic gain control, and echo cancellation in software, often using the device’s CPU or a dedicated neural processing unit.
Each example shows the same fundamental pipeline: analog in, digital processing, analog out. The differences lie in the specific algorithms, hardware capabilities, and performance priorities. Understanding the fundamentals of How Digital Audio Processing Works in Modern Devices helps you make informed decisions about which device or setting is right for a given task. For instance, if you need low latency for live monitoring, you might choose a wired connection over Bluetooth. If you want the smallest file size for a podcast, you might select a more aggressive codec. Reliable information and consistent habits lead to better long-term outcomes, such as learning to adjust buffer sizes or codec preferences based on your actual use case.
Step-by-Step Guide to Understanding and Applying Digital Audio Processing
If you want to move from passive listener to informed user, follow these steps. They apply whether you are setting up a home studio, optimizing your phone for calls, or just trying to get better sound from your TV.
Step 1: Understand the fundamentals
Start by reviewing the key concepts above. Make sure you can explain sample rate, bit depth, codec, and latency in your own words. This foundation will help you interpret specifications and avoid marketing hype. For example, a higher sample rate is not automatically better if the source audio was recorded at a lower rate. Similarly, a lossless codec is only useful if your playback equipment and listening environment can reveal the difference.
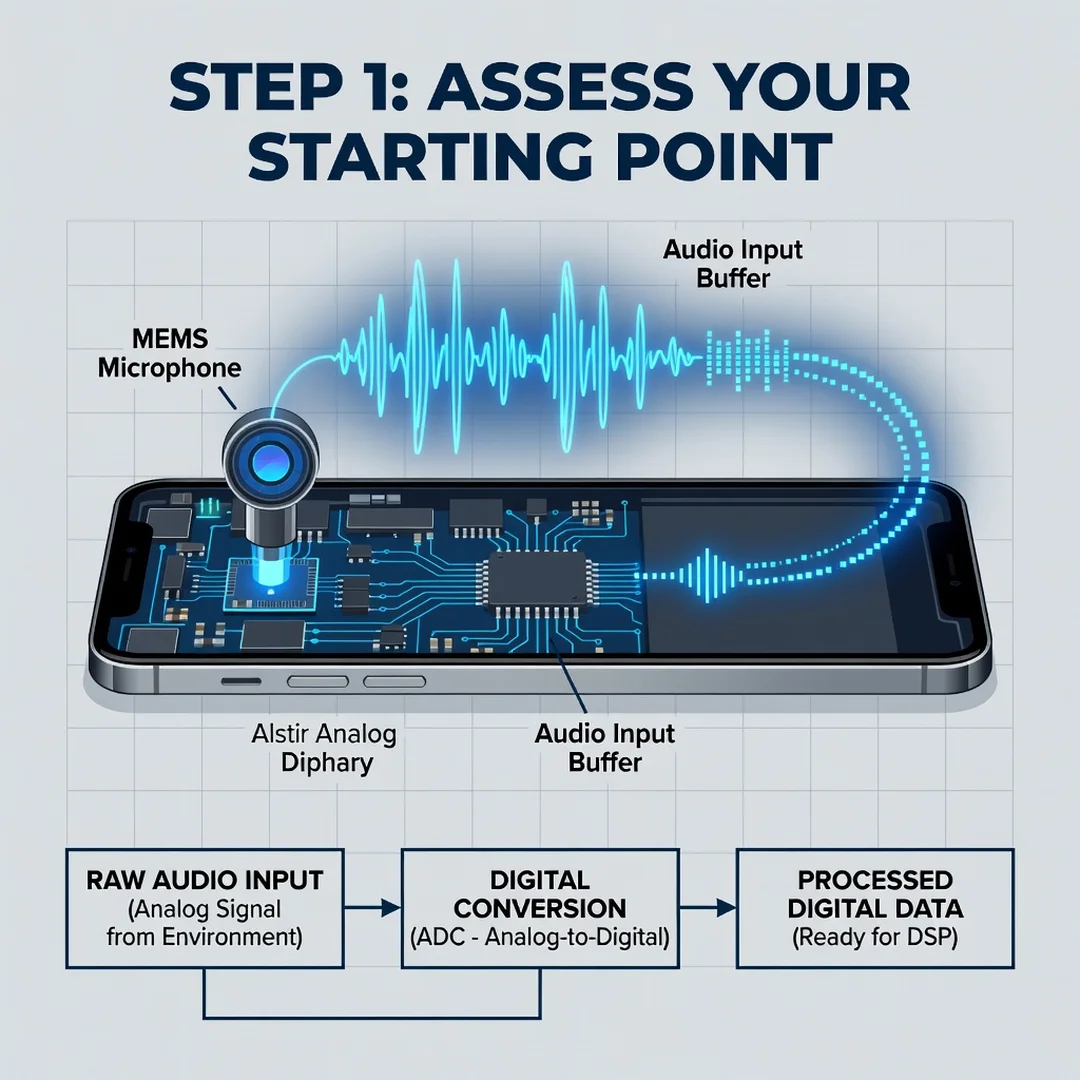
Step 2: Assess your starting point
Take inventory of your current devices and settings. What sample rate and bit depth does your phone or computer use by default? Which Bluetooth codecs does your headset support? What buffer size is set in your audio software? You can find much of this information in device settings or manufacturer specifications. Write it down. Knowing your starting point prevents you from making unnecessary changes or buying equipment you do not need.
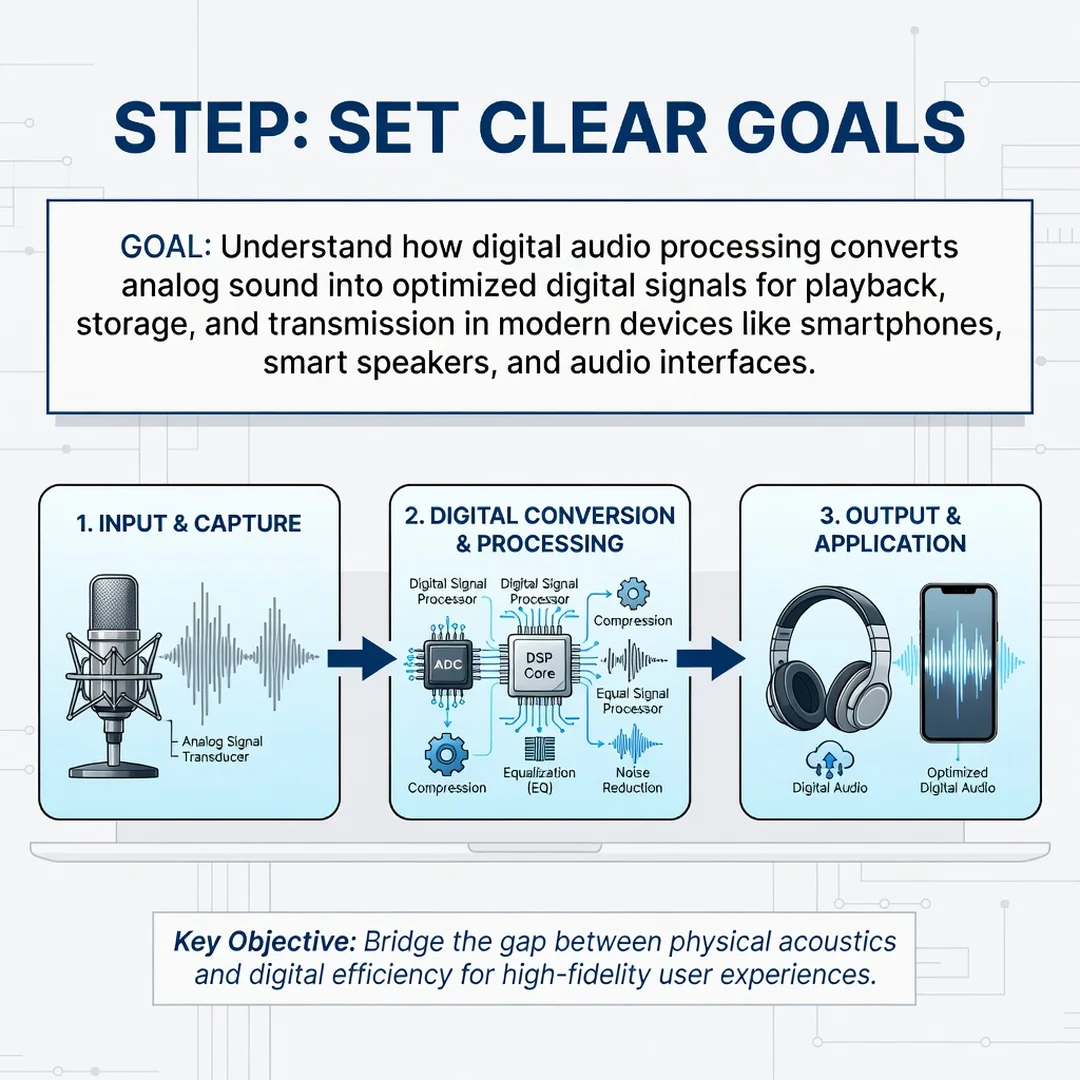
Step 3: Set clear goals
Define what you want to improve. Are you trying to reduce latency for gaming? Eliminate background noise on calls? Record music with studio-quality fidelity? Each goal points to different levers. For low latency, prioritize wired connections or aptX Low Latency codecs. For noise reduction, look for effective ANC or software noise suppression. For recording quality, focus on high-quality ADCs and adequate bit depth. Clear goals keep your efforts focused and measurable.
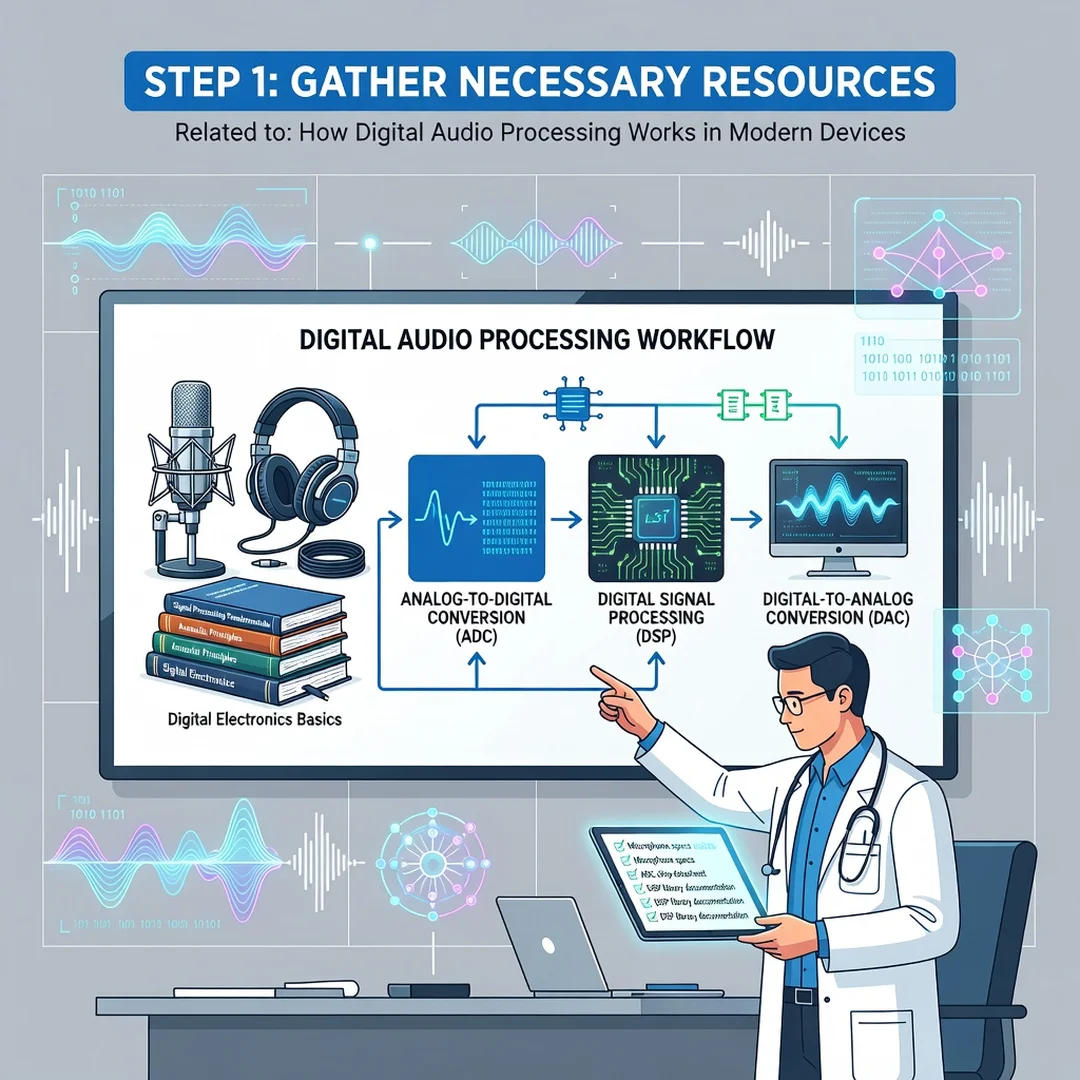
Step 4: Gather necessary resources
Based on your goals, collect the tools and information you need. This might include a better microphone, an external DAC, a different audio cable, or simply the user manual for your current device. Online forums and manufacturer documentation can clarify which settings matter. If you are working with software, check whether it supports the codecs or sample rates you want. Having the right resources on hand makes the next step much smoother.
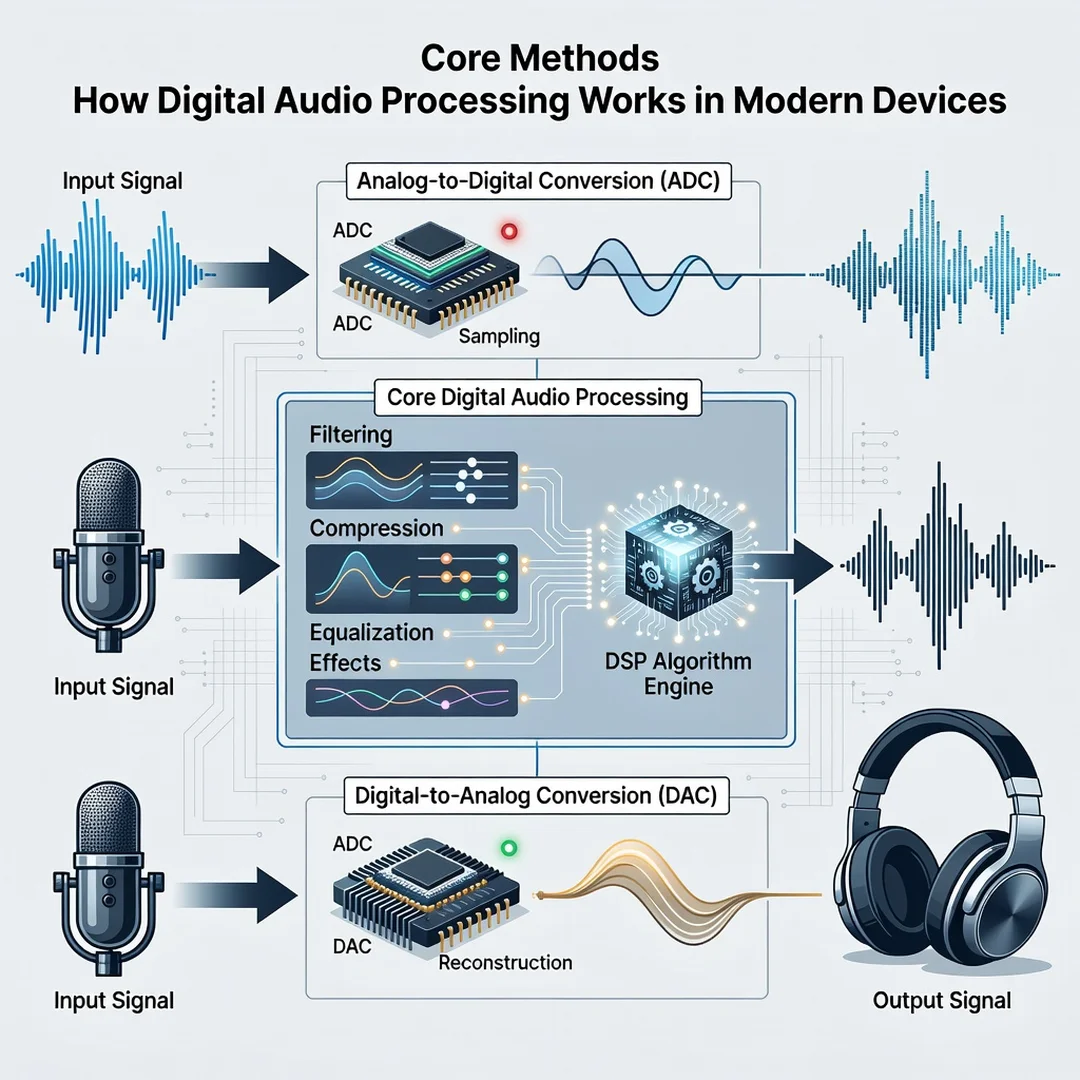
Step 5: Apply the core methods
Now put your knowledge into practice. Adjust sample rate and bit depth to match your source material and destination. Choose the appropriate codec for your bandwidth and quality needs. Set buffer sizes to balance latency and stability. Enable or disable processing features like equalization, compression, and noise cancellation based on your goal. Make one change at a time so you can hear the effect. For example, if you are setting up a podcast recording, set your interface to 48 kHz and 24-bit, use a lossless format for editing, and apply gentle compression only after you have a clean recording.
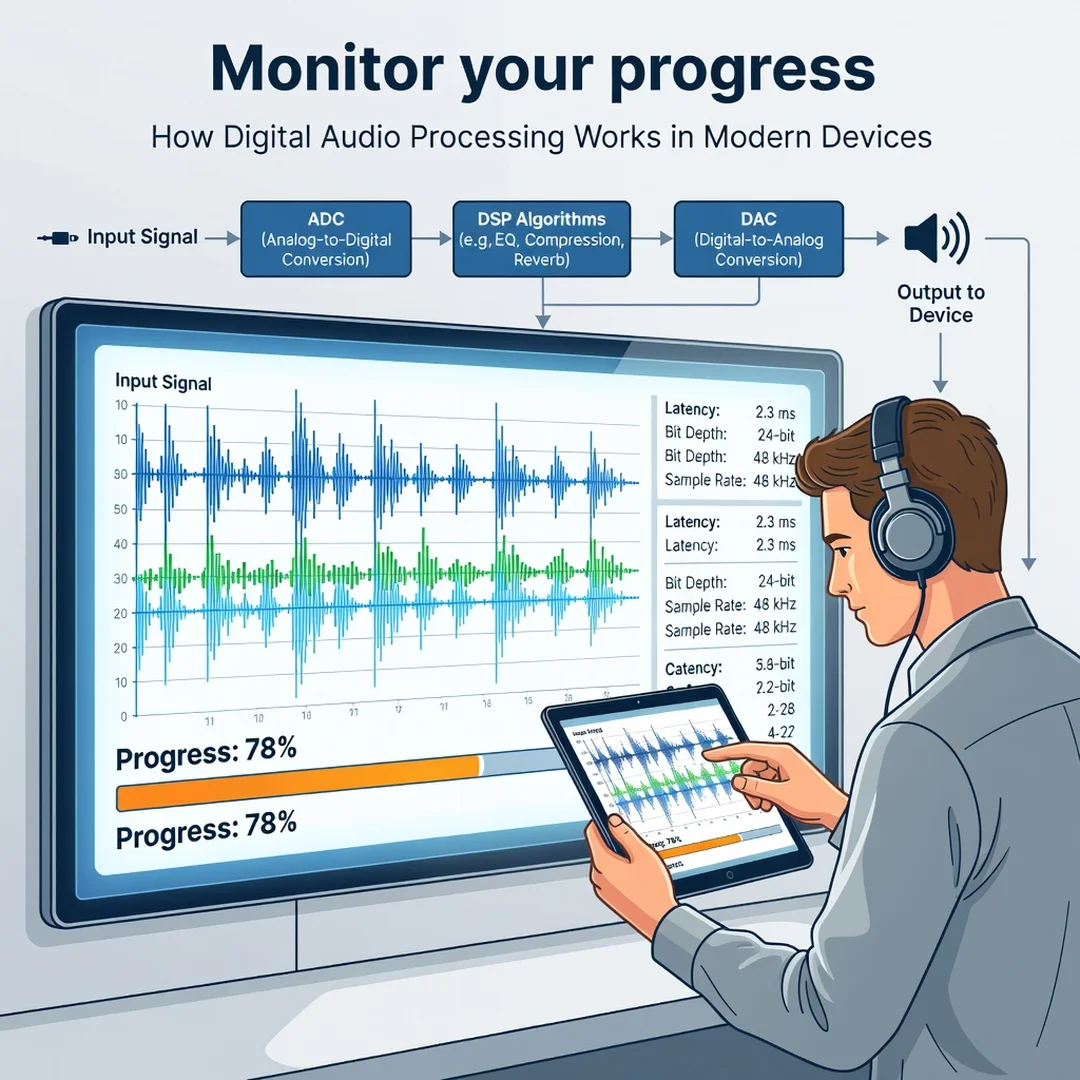
Step 6: Monitor your progress
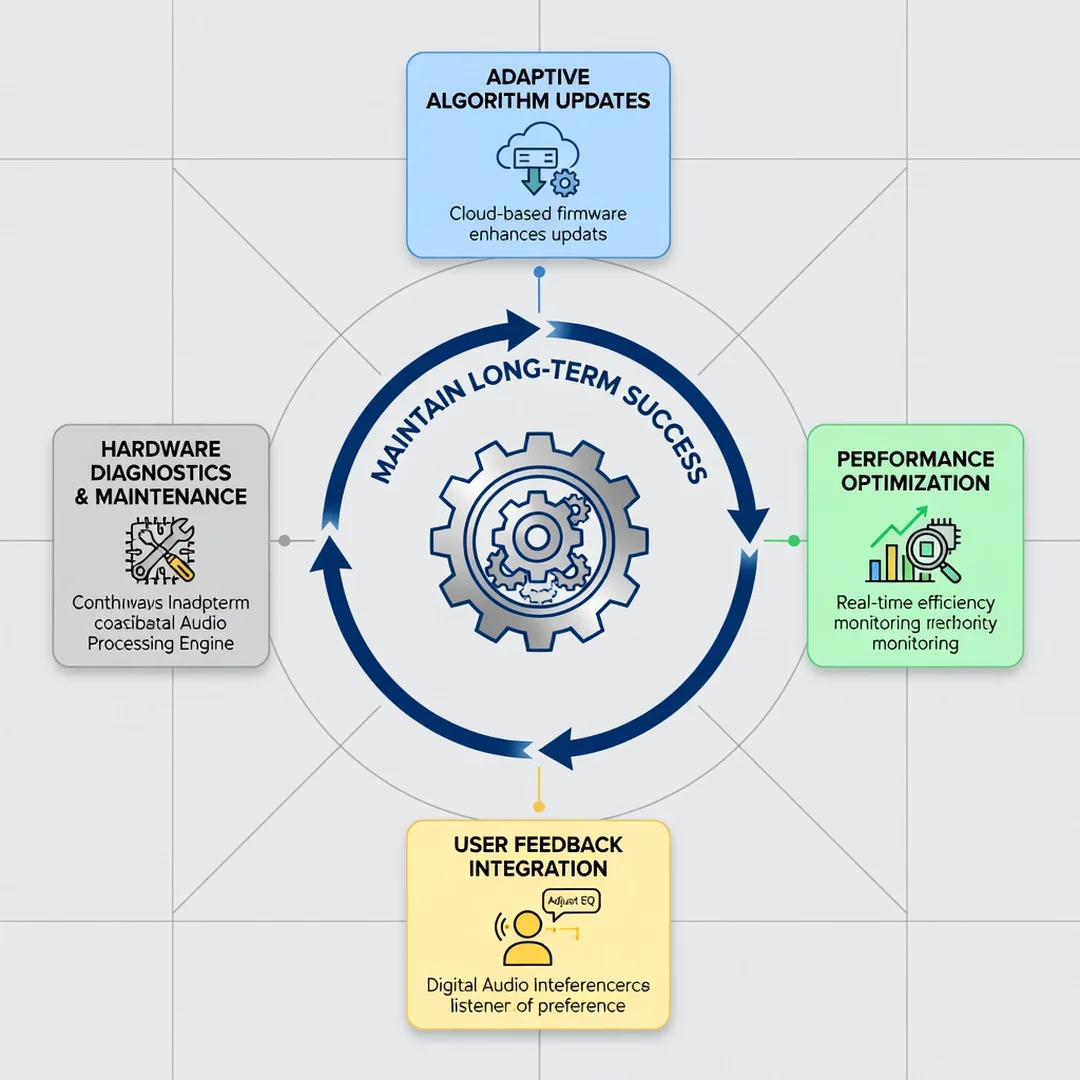
After making changes, test them in real-world conditions. Record a sample, make a call, play a game, or listen to a familiar track. Compare the results to your starting point. If something sounds worse, revert the change and try a different approach. Keep notes on what worked and what did not. Over time, you will develop an intuition for which settings matter in which situations. Reliable information and consistent habits lead to better long-term outcomes, so revisit your settings periodically as your devices and needs evolve.
Best Practices
To get the most from digital audio processing, follow these practical guidelines.
Match sample rates when possible. Converting between sample rates can introduce artifacts. If your source is.
You now have a solid foundation for How Digital Audio Processing Works in Modern Devices. Apply the best practices above and revisit this guide as your needs evolve.